Showing posts with label A Vintage Journey. Show all posts

Thursday, January 30, 2020

Love Is The Key

Hello friends,

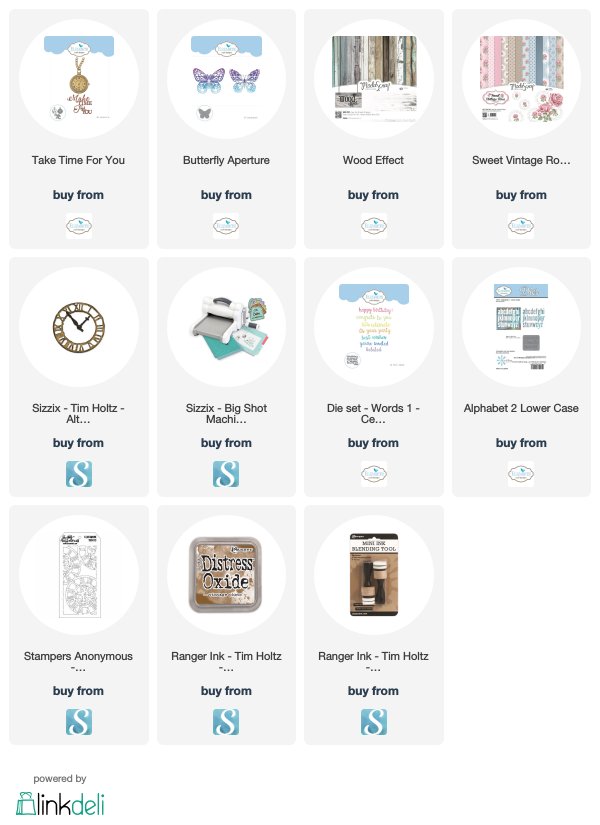
I haven't done any mixed media in awhile and was really missing it.  There is nothing like getting your finger covered in paint and ink.  It's Tag Friday over at A Vintage Journey so I decided to play along with this mixed media tag in honor of my wonderful parents 75th anniversary. 
 I hope you enjoy!


Until next time- happy crafting,
S@ndy

Thursday, October 31, 2019

Window On Your World


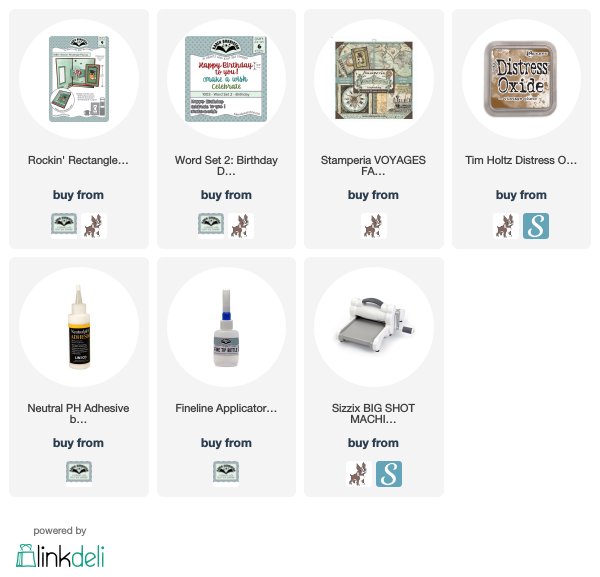
Hello again friends and welcome to a new challenge for A Vintage Journey.  This time our lovely hostess, Deb, has challenged us to make a project that is a Window On Your World.  I have this fabulous paper from Stamperia and a great die set, The Rockin Rectangle, from Karen Burniston.  
It's a great combination and they are linked below for you shopping pleasure, simply click on the product and you can see all the details.


Click here to see Karen's instruction video.


I wanted to use the paper images to their best advantage so I made a large card, 6.5" square.  This meant that I had to make a hinge - I did that by cutting and scoring one panel 1/2" larger than the first.  Then joining them with the hinge on the back.

I layered the front of the card with two layers and then cut the window where I needed it.

Because I had so many layers - too many for a wafer thin die - I had to line up the window from the front and then cut again to get through all the panels.  After the window was cut and the acetate added I assembled the card the same as in the video below.

Here is a link to Karen's video.

Stay Crafty,
S@ndy

Thursday, September 5, 2019

Box It Up @ A Vintage Journey

Hi Friends,

It is the first Friday of the month and that means a new challenge at A Vintage Journey.  This time our hostess, the lovely Julia, gave us this description of the challenge.

This month our theme is boxes! Perhaps you will make a trunk or suitcase, some kind of package to hold a gift, or maybe make a card or journal page showing presents. Just remember to ensure that you create in one of our preferred styles of vintage, shabby, mixed media, art journaling, industrial, timeworn or steampunk.

I decided to go for a stroll in the Pumpkin Patch.  


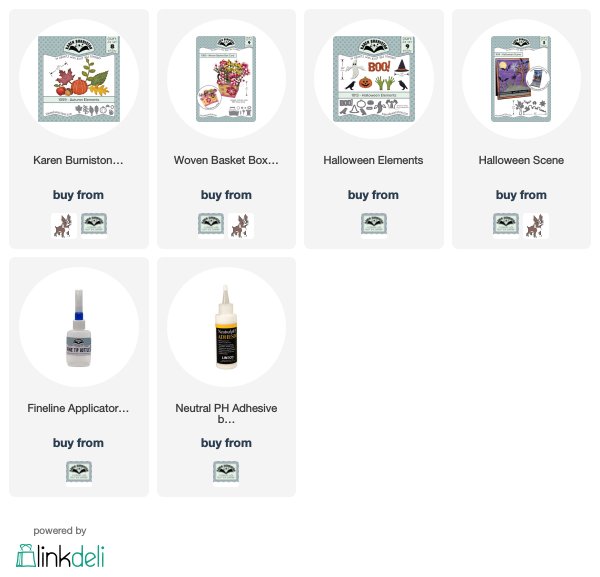
For the Box It Up challenge I used the Woven Basket die set from Karen Burniston which makes a woven box card that folds flat for mailing as you can see in the photo above.

I have provided links below for you to click and shop.
I hope you will join us at A Vintage Journey to see all the great boxed up creations from the
Creative Guides.

See you next week and have a great weekend,
S@ndy

Thursday, May 30, 2019

It's Tag Friday @ A Vintage Journey


Hi my friends,

It is always nice to have an extra day to do something you love.  This month there happens to be five Fridays and that means "Tag Friday" for the Vintage Journey Blog.  This month we are welcoming four brand new Creative Guides, Ann, Barbara, Toni and Jo, so I hope you can stop by to welcome them and see their fabulous work, just click here.


It's time to be thinking about our summer plans and that means travel.  We love to travel and have our plans in place for this year so wanted to convey the excitement with my tag. 


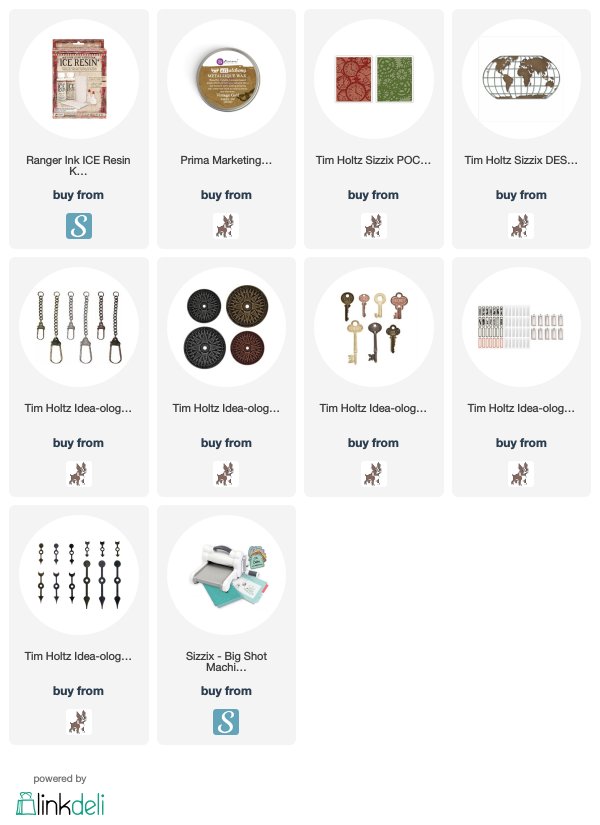
As I was getting ready to make my tag, I found an unfinished project in my stash.  This tag base is actually made from resin.  I made this some time back and it was just waiting to be finished.  I originally made this panel by pouring some resin over an embossing folder that I had first added some VersaMark Ink to.   After trimming off the rough edges with scissors it was ready for some highlights.  I used the Art Alchamy Metallique Wax from Prima - I simply rubbed some on with my finger.  A hole was drilled in the top center and it was ready to go.


It wasn't too hard to find things in my stash to finish it off, I have provided links below so you can see exactly what I used.

Thanks for stopping by,
S@ndy

Thursday, January 3, 2019

Put Your Stamp On It for A Vintage Journey


Hello Vintage Travelers and welcome,
  
Happy New Year to one and all.  This time the Creative Guides were asked to "Put Your Stamp On It" which is a wonderful prompt to get out the stamps and use something that may have been forgotten for awhile.  For my card I used one of my favorite background stamps and the Queen Of Hearts from my Tim Holtz stamp collection. 


I began with a piece of manila cardstock, added some color to it by dragging it through some Distress Oxide ink that I placed on my craft mat with a spritz of water.  Next I stamped the bottom portion with my background stamp using some Vintage Photo Distress Oxide Ink.

After cutting all my pieces to size, this is an A2 card, I layered them together.

I used a piece of seam binding ribbon that was already colored with red ink from another project, how perfect.  It seems that a crown is the perfect charm for this card so added it to the bow.

After stamping the queen twice and heat embossing - I fussy cut them out and layered them together.  Next comes a little color but only in certain spots.  I used some double sided tape to adhere the stamped cards on the front of the card.


I'm so happy that you stopped by and hope you will visit the Vintage Journey blog by clicking here.  You will love what you see from all the other talented Creative Guides.

Happy travels until next time,
S@ndy

Thursday, November 29, 2018

HO to the power of 3

Hi my friends,

Today is the 5th Friday of the month and that means TAG FRIDAY at A Vintage Journey.  Several of the Creative Guides have made a tag to share with you.  I hope you will stop over there to see them by clicking here.

For my tag I wanted to start with my Christmas Celebration and made this cute little Santa.  I used some fun dies from Elizabeth Craft Designs which are all linked below.

It's nearly here, are you ready?


Hope to see you over at A Vintage Journey,
S@ndy

Thursday, October 4, 2018

Autumn Splendor @ A Vintage Journey


Hello friends and welcome back.

Today is the beginning of a brand new challenge at A Vintage Journey and the theme this time is Autumn Splendor.  I hope you will take a few minutes to visit by clicking here to see some awesome Autumn creations.  You can share your card, tag or project too, we love to see what you create.

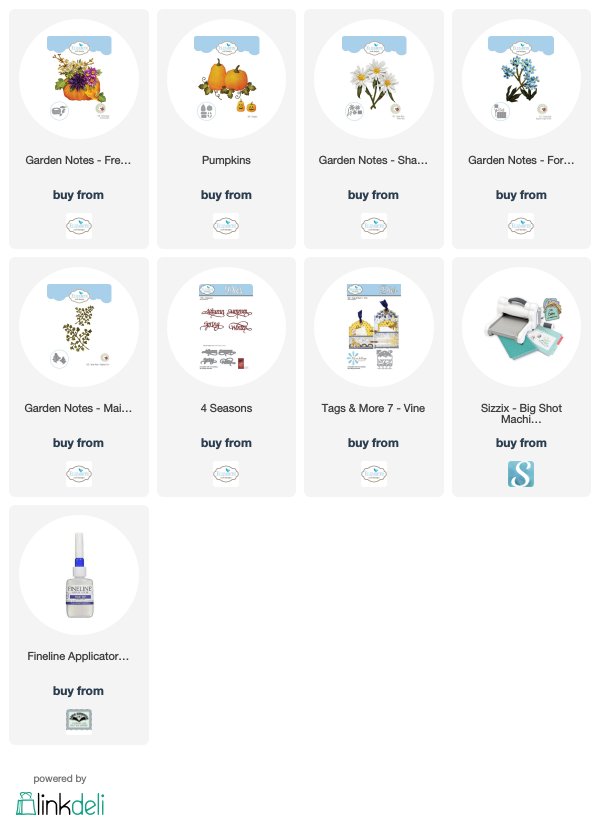
I made a tag this time around using lots of dies from Elizabeth Craft Designs featuring some gorgeous flowers from Susan's Garden designed by Susan Tierney Cockburn.  I have to admit that the flowers seemed a bit intimidating at first but, trust me, they are fun and addicting.  Enjoy!


You can click on the links below for more information on these great dies.

Until next time - stay creative,
S@ndy

Thursday, June 28, 2018

It's Steampunk Tag Friday @ A Vintage Journey

Hi My Steampunk Friends,

It's Tag Friday at A Vintage Journey and I love it because we are free to make anything we want as long as we stay within the Grungy, Shabby or Steampunk Style.  I have two tags to share today and I hope you enjoy seeing them as much as I enjoyed making them.

I used images from the Graphic 45 Steampunk Debutante line (my favorite of all time). For my tags today, I went stash diving and came up with both of these tags that had been started but not finished.


This is the way I found these tags, one has the paper on the front of the tag and the other was added to an acrylic tag.  I punched some holes for gears and then started adding them along with some small flowers and black ribbon for the top.

Doing Steampunk is right up my ally, I collect and save parts of old watches and there are some gears(cogs)from an old printer that Mac disassembled for me.

Have a wonderful weekend and be sure to stop over at A Vintage Journey to see what the rest of the team made.

Until next time.
S@ndy

Thursday, May 24, 2018

Creative Card Making for A Vintage Journey

Hi all and welcome back -

This week I am sharing a card making tutorial over at A Vintage Journey.  I hope to see you there where we will be making this card.

You can see the full tutorial by clicking HERE

Have a creative weekend -
S@ndy

Thursday, May 3, 2018

Just A Note for A Vintage Journey

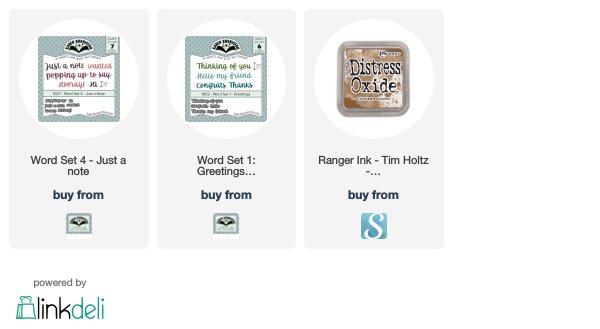
Welcome to a new month and that means a new challenge at A Vintage Journey.  This month our lovely hostess, Alison, has decided on the theme of Words and Music which I have taken literally.  My card is made from some fabulous paper from DCWV I found in my paper stash and it is perfect for this challenge. The words were added using Karen Burniston's Word Sets 1 & 4.


For the inside I simply placed a panel of the coordinating paper and added a few words.

This vintage looking card was pretty simple since the paper did most of the work.  I simply cut the card base 8.5" X 5.5" and then scored down the center.   After choosing the elements that I wanted to use I tore them out and then edged all elements with Vintage Photo Distress Oxide Ink.

Have a great weekend and don't forget to stop by the Vintage Journey Blog to see what the rest of the team made for this great challenge.

S@ndy
"text-align: center;">

Thursday, March 29, 2018

YAY!! It's Tag Friday @ A Vintage Journey

It seems like a long time since we have done a Tag Friday but it is finally time once again to share some creative tags.  I hope you will stop over to see what the Creative Guides have done for you this time - simply CLICK HERE.

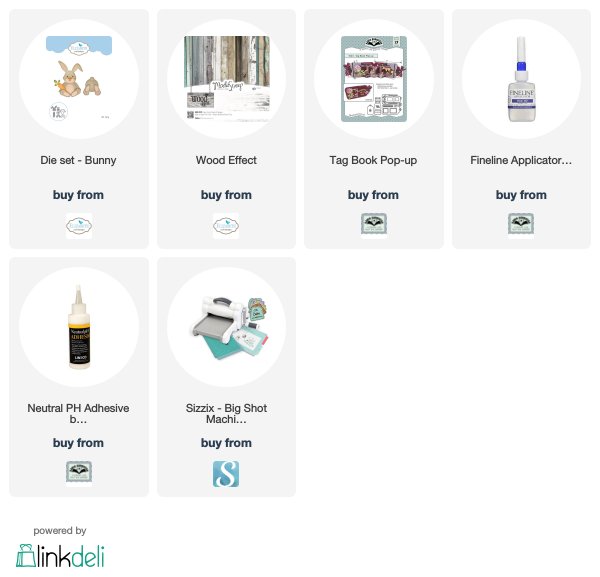
With Easter only 2 days away I just had to use this adorable bunny one more time.  He is from Elizabeth Craft Designs and I have linked everything I've use below.


Wishing all of you happiness and joy,
S@ndy

Sunday, December 10, 2017

Destination Inspiration for A Vintage Journey

Hi Friends,

Today we are arriving at Terminal 2 on our vintage journey where I am your guide. I hope you will stop by to see how I made this project using products from Aladine,   If that name is unfamiliar to you - you need to check out their wonderful products by CLICKING HERE

You can get complete instructions on this project by CLICKING HERE.


For this project I used Aladine Izink, Dye Inks, Stamps and Embossing powder.

See you over at A Vintage Journey,
S@ndy


Sunday, October 22, 2017

Destination Inspiration @ A Vintage Journey

Hi vintage travelers - today I have a complete tutorial on how I made this mixed media canvas at A Vintage Journey for our Destination Inspiration series.  I hope you will be inspired to stop over for a look.


See you there,
S@ndy

Thursday, October 5, 2017

Crazy for Autumn @ A Vintage Journey

Hi Friends,  it's one of my favorite times at A Vintage Journey, the start of a new challenge  We are celebrating Autumn with it's wonderful color pallet and thoughts of cool fall days.  The theme this month is "Crazy for Autumn Color" and the creative guides have a wonderful array of creative designs to share with you.  Come on by - simply click here.

I made this piece of home décor to celebrate the season.


I began with an ordinary embroidery hoop that was purchase at my local craft store.
Next I cut a piece of burlap that is a little bit larger than the hoop.


The burlap was sprayed with some Nemories Mist sprays.  I used orange, of course, and some dark brown.  Next the burlap was placed on the hoop and the edges were trimmed off in the back and glued down.


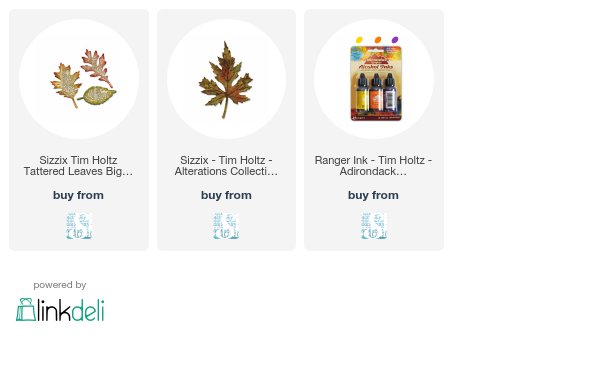
Using some semi opaque vellum, I cut several leaves and then colored them with alcohol inks.  When the ink was dry, which doesn't take long, I embossed some of the larger leave and then folded the others in half to give some dimension. 


I placed the leaves as desired on the hoop and held them in place with glue dots.  When all leaves were arranged as desired I added some acorns and some ribbon on the top.


I used chipboard that was covered with paper to cut my letters for the word "FALL".


Hope you have enjoyed my project and that you will stop by over at A Vintage Journey to see the wonderful creations.

See you there,
S@ndy


Thursday, June 1, 2017

New Challenge at A Vintage Journey - Canvas

Hi fellow travelers, 

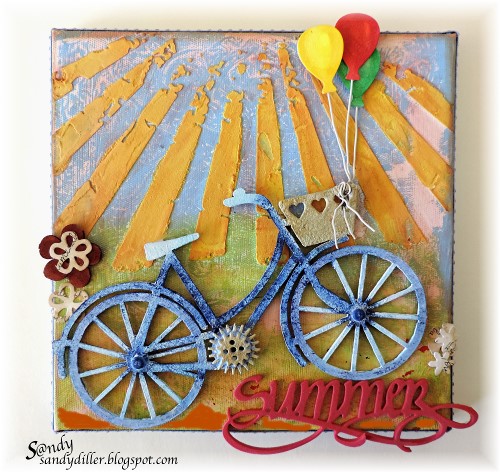
Today is the start of a new challenge at A Vintage Journey and our lovely hostess, Nikki, has asked us to use canvas.  I chose to use a small canvas from my stash that I got at a flea market, it already had something on it but not something I wanted.  I simply put a coat of gesso over the old and started the new.

My canvas is the celebration of Summer.  A time when the kids are out of school for awhile and things are a little easier.


 We have a wonderful sponsor and giveaway this month.


We would love for you to join us for this fun challenge.  Just click here and then follow the Inlinz prompt to submit your entry.  Good Luck! 
 
The randomly chosen lucky winner will receive a $25 voucher to spend in their store.

Here are a few steps that I took to create my canvas.
 

Starting out with a Gelli Plate, spread green and blue paint.  Next lay a stencil on the paint, the pattern really doesn't matter as it is only used to give some random texture.
Place your canvas face down on the painted surface and press down so the paint transfers to the canvas.

 
Let paint dry, mix up some texture paste with color of choice.  For this canvas I wanted sunshine so I used Distress Oxide Fossilized Amber reinker to color my paste.  Next spread the colored pasted through a stencil.  I used a Tim Holtz stencil here to create my sunshine.
 

While you are waiting for paste to dry, begin getting all the other elements ready to add.  This cute little bicycle is from ClearScraps. I added a couple gears from Tim Holtz and then a coat of gesso.    Truthfully,  I did a few colors before I came up with what I wanted.  You can change colors as many times as you like by simply adding another coat of gesso and starting again.  In the end I got the effect I wanted by stippling the colors on.
 
For the finishing touches - some small flowers and balloons were added using some dies from Karen Burnistion's Pop it Ups collection from Elizabeth Craft Designs.  The balloons are added using wire and then wrapped through the basket on the bike.  The word "Summer" was cut from fun foam using an Elizabeth Craft Designs die from the A Way With Words collection.

 
Please hop on over to A Vintage Journey to see what the team made for this great challenge,
 it will be worth the trip,
S@ndy