Showing posts with label Distress Oxide Inks. Show all posts

Thursday, April 2, 2020

It's Gelli Plate Time

Hello fellow travelers,

It is the first Friday of the month and that means a new challenge at A Vintage Journey.  This month our lovely hostess, Julia, has decided that it is time to get out the Gelli Plate.  I must admit that I have owned a Gelli Plate (two actually) for some time but never seem to get them out to play with.  I'm so happy that now is the time!  I hope you enjoy my adventure - at this time we are all struggling with the coronavirus thing so I thought a little silliness could lift our spirits.  There is no reason for this journal page except to use the Gelli plate and to add some happiness to our lives.


 Even though I don't use my Gelli Plate much, I like to watch YouTube videos about it.  I have recently been watching videos about Distress Oxide Inks with the plate so thought I would give it a try.  You can pick any two, or more, colors and simply rub the ink pad on the plate.  Once that was done, I used a brayer to smooth out the colors.  Next I spitzed water on the whole thing   Next I layed the paper on the plate and pressed it down.


I did this several times using different color combos.  On the top row you will see how the water has made some interesting marks  Without doing anything else to the plate I put a new sheet of cardstock on the plate and lifed another print, called a ghost print, you can see those on the bottom.

 For this double page spread in my art journal I decided to use two of the ghost prints.

 The next step was to do a little stenciling, I used some Seedless Preserves Oxide Ink and one of the Life Changing Brushes from Picket Fence.  

 I recently bought an adorable stamp set from Pink Ink Designs (a British Company).  I stamped the bunny and colored him with some Copic colors. Couldn't be any cuter.  The stamp set comes with lots of great images and I tried to use most of them.

 I cut out the bunny and placed him on the page with matt medium. I made my pages separately and then placed them in my journal using Clear Double Sided Adhesive from Elizabeth Craft Designs.

A little more stenciling with a different stencil at the top of the page to add another layer.

I added more images from the stamp set and then some random stamping for the background.
Next came some white spots using watered down gesso.

Just for fun I added Hop, Hop Hooray.
To finish the pages off, some more bunny images from the stamp set were added. I added a grass edge along the bottom and then edged all around with Oxide Ink.

The final step was to add some Wendy Vecci Translucent Embossing Paste for a little added texture.

This was a fun page and I hope you have enjoyed it.  Get out those Gelli Plates and start printing.

See you again soon,
S@ndy 

Monday, December 2, 2019

Celebrate the Season

Hello Crafty Friends,

I have a fun and easy idea for your gift giving this holiday season.  Hop on over to the Elizabeth Craft Designs Blog to see how I made a stencil and then turned it into a card and gift tag.  Hope to see you there.


Enjoy,
S@ndy

Monday, October 14, 2019

Joyful Wishes

Hello Friends,

Today I have a fun card to share with you and I got the idea from my friend, Mary McGillis, who made one at our Paper Arts Club meeting.  I liked it and she gave me permission to use it here so I hope you enjoy.  

I've used lots of great dies and stamps (all linked below) from Elizabeth Craft Designs.


Here are a few of the steps along the way.

I began by cutting a Rounded Square and Stitched Indented Square and then inked the Indented Square with some Distress Oxide Ink.  A few white splatters were added using some watered down gesso.  Next came a layer of  Village Houses.  The bottom of the houses were also cut using the Stitched Indented Square.  Some yellow vellum was added to the houses for this layer only. 

Next came two more rows of houses and a hinged triangle to attach the houses to the card.

The houses were added to the triangle, note that they are glued on different sides of the triangle so the front of each row shows when the card is closed.

When the additional houses are added to the card, it will stand up by itself.

 Finishing touches were added, shooting star, trees and snowflakes.  Using the Joyful Wishes Stamp Set, the sentiment was added.

So simple, lovely and elegant.

Stay Crafty,
S@ndy

Thursday, May 3, 2018

Just A Note for A Vintage Journey

Welcome to a new month and that means a new challenge at A Vintage Journey.  This month our lovely hostess, Alison, has decided on the theme of Words and Music which I have taken literally.  My card is made from some fabulous paper from DCWV I found in my paper stash and it is perfect for this challenge. The words were added using Karen Burniston's Word Sets 1 & 4.


For the inside I simply placed a panel of the coordinating paper and added a few words.

This vintage looking card was pretty simple since the paper did most of the work.  I simply cut the card base 8.5" X 5.5" and then scored down the center.   After choosing the elements that I wanted to use I tore them out and then edged all elements with Vintage Photo Distress Oxide Ink.

Have a great weekend and don't forget to stop by the Vintage Journey Blog to see what the rest of the team made for this great challenge.

S@ndy
"text-align: center;">

Friday, April 20, 2018

Just for Fun Friday - Karen Burniston Inspiration

Hi Friends,

Today I'm sharing my version of a card that Karen Burniston showed on her blog Here.  I loved how the branches appeared to be suspended in air.  I decided to try the technique using butterflies
so here it is.


The inside of the Tag Book Pop Up was cut from clear acetate, attached to the base as usual and then the butterflies were added.


For my butterflies I used vellum that I colored with Distress Oxide Ink.  I rubbed the color on the vellum using a color blender.


I love a challenge and this was so much fun and not as difficult as you may think - give it a go!!
See you soon,
S@ndy


Sunday, March 25, 2018

Thinking of You for Dies R Us

Hi all -

I hope to see you over at the Dies R Us Inspiration Blog today where I will be sharing how I made this card using the Lake Scene die set from Elizabeth Craft Designs.


See you there,
Sandy

Thursday, November 30, 2017

Winter Wonderland

Hi friends and welcome to a new challenge at A Vintage Journey were I am the hostess this month.  My choice for the challenge is Winter Wonderland and the Creative Guides have certainly risen to the challenge with some fabulous makes.  Hope you will come by to see all of them by clicking on the link above.

For me, I used a piece of chipboard packaging that came in a new set of pots & pans to get me started.  Check it out below if you want to see how I did it.


We purchased some new pots & pans not too long ago and these chipboard rings were packed between the pieces.  Of course I saved them and now I'm happy that I did.
I picked the size I wanted and gave it a coat of gesso.
I used some Tim Holtz Knobs to make it stand up so punched the holes for that next.  It took a couple of tries to get it right but the extra holes will be covered so no worries.


I colored some White Soft Finish Cardstock with Broken China Oxide Ink fading the color from dark to lighter at the bottom.

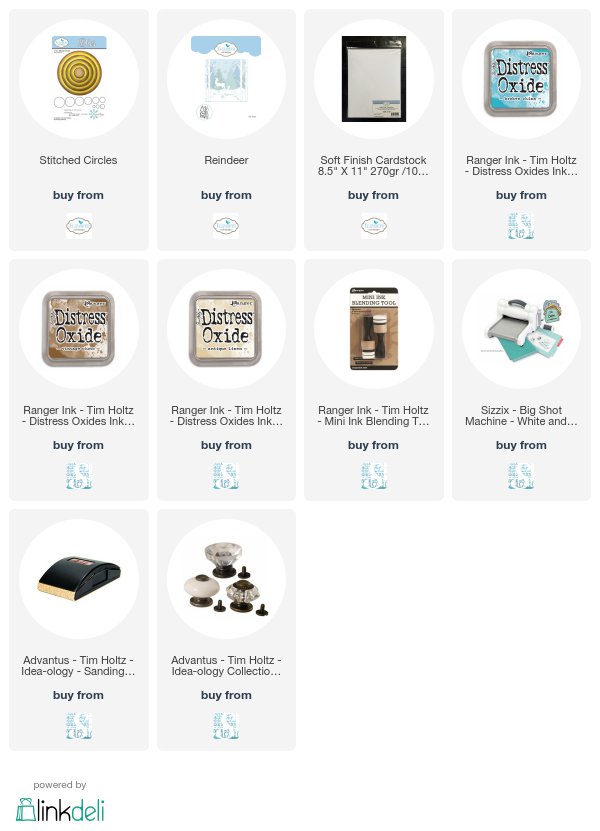
The ring fit perfectly with largest Stitched Circle die from Elizabeth Craft Designs (ECD) so cut out my insert.


I colored a narrow strip of paper for the inside top of the ring with the same color and then glued it in.


I used the die again to cut the backing for the ring.  Because I used chipboard the die did not cut all the way through but it left the perfect impression on the chipboard so I could finish it by hand. As a finishing touch I sanded the edges of the chipboard so it was smooth and looked seamless.


Assemble all the parts and add the legs (not shown)

Using the ECD Reindeer die set, cut all trees 2 times, the snowdrift 4 times and one deer.  All parts were layered using foam tape with the large trees added to the outside of the ring.
Before adding the deer, color using Vintage Photo and Antique Linen for the antlers.


Have a creative weekend,
S@ndy

Saturday, October 7, 2017

It's World Cardmaking Day - So Let's Make A Card

Saturday School is on "Fall Break" but we'll be back next week.

OK - it's not like we need an excuse to make a card but it's nice to have a reason.

I'm not done with Halloween yet although the crafting world is moving toward Christmas.  I'm still holding out.


For the background on this card I was inspired by Vicky Papaioannou on her YouTube channel where she shared her Glowing Moon technique.  I used the same technique using Distress Oxide Inks that are blended together to make a night sky with a glowing moon.  I used Elizabeth Craft Designs White Soft Finish Cardstock for my base.  The finished size of this card is 4.25" X  5.5".  Cut cardstock 4.25 X 11" then crease in the center.  Make a mask for the moon using some low tack tape or paper then blend inks over it.  When sky is done, remove mask and add just a little yellow for that spooky effect.


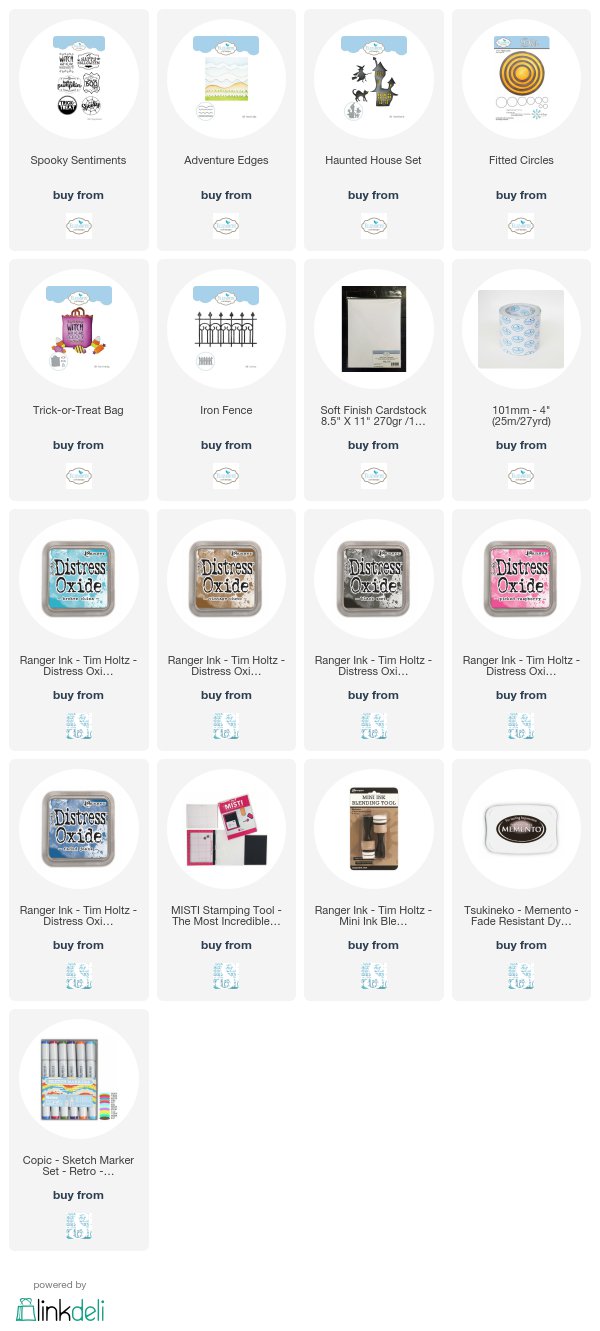
Cut treat bag and stamp with sentiment.  All dies and stamps on this card are from Elizabeth Craft Designs.  To see all the products I used check out the links at the end.  Simply click on the link to shop.


Color the bag - I used Copic Markers but any markers will work. There are two crease lines on the bag die, fold on lines and edge bag with ink, Vintage Photo was used here.


Cover the back side of some black cardstock (about a half sheet of 8.5" X 11") with Clear Double Sided Adhesive, ECD was used here.  Die cut the fence, ground and witch from front side of cardstock, you will now have stickers that will be easy to add to the card.


Cut candy corn from white Soft Finish Cardstock and then color.


Add all elements to card.

Happy Haunting,
S@ndy


Wednesday, October 4, 2017

Happy Haunting

Hi friends, today I thought I would share another Halloween tag with you since the crafting movement is heading toward Christmas and I'm not ready to go yet.  I love Halloween and the images and colors that are associated with it.  


I made the background with Oxide Inks and then added some fabulous die cuts from Elizabeth Craft Designs.  The Halloween images are from Joset Designs and they are so fun to use.  You can click on the links below to shop.

Happy Haunting,
S@ndy