Showing posts with label stencil. Show all posts

Wednesday, May 4, 2022

Life Is Good - in the hood

 Hello friends and welcome back,

It's Sandy Diller here to share a fun project using 4 great products from Clear Scraps - the new Large Shiplap Heart, the Large Shiplap House, the "Life is Good Words and the Sun Rise Stencil.  I had a great time making this so let's get started.


I was inspired to make this shiplap panel after a lovely bike ride around my neighborhood seeing so many cacti in bloom.  I snapped a few photos to display here. 

I began by blending some ink on the Shiplap Heart near the top and then added some washi tape at the bottom.

Next came some embossing paste and the Sun Rise Stencil.

I ripped up some corrugated paper to make a mountain that is edged in a darker brown.
After adding the mountains to the shiplap I covered the shiplap house with paper and then added it on the right side. 

I painted "Life is Good" with some gold paint and then cut out the words "in the hood" using dies.


Using some old slides, I removed the film and added in my photos.  Next came a camera that I cut using a die from the Movers and Shapers.  I have a red camera so I made mine red.


To finish this project I added the photos around the top of the camera.  I did use some foam tape on the back to make them pop up.

Thanks for joining me today - Life Is Good!!

Sandy

Monday, November 1, 2021

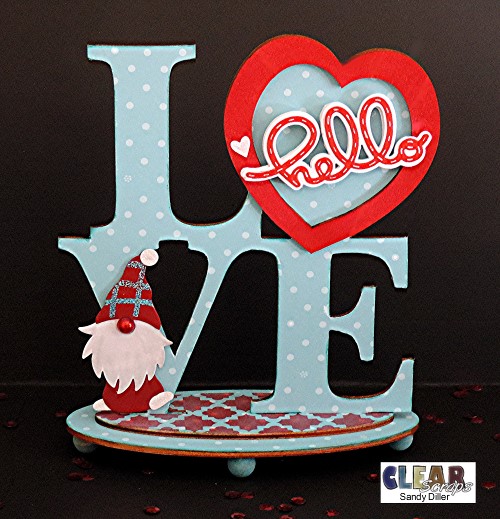
Hello LOVE

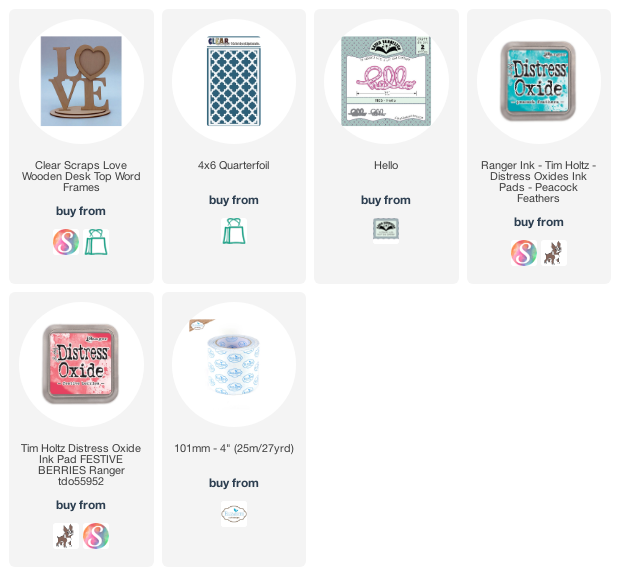
Hello friends, I'm here with you today and I have a fun & festive little project.  I used the Love Desktop Frame along with a 4" X 6" Quarterfoil stencil. 


The first thing I did was cover the back of my paper with double sided adhesive so it could be added to the Love Frame and also to the oval bases. 


After removing the tape liner The LOVE Frame was placed face down on the sticky side. (I used double sided paper so you are seeing the back side above) 
The excess paper was cut away.


After cutting away the paper it looked a bit sloppy so I smoothed down all the edges with an emery board to make it smooth and define the edges.


Everything was edged, in this case I used blue to match the paper color.  The small section of the base was stenciled with red and the extra heart was also colored red using the same ink and a blending brush.
After stenciling the small section of the base - it was ready for some feet.


I had some wooden beads in my stash so I painted them with a reinker to use them as feet - then attached them using hot glue.


A fun little greeting "hello" was added using a die from my collection. 
 I used fun foam to make it pop up.


For a fun finishing touch I added this cute little gnome that was hanging around on my desk.

Thanks for joining me today and Happy Holidays,

S@ndy

Monday, December 2, 2019

Celebrate the Season

Hello Crafty Friends,

I have a fun and easy idea for your gift giving this holiday season.  Hop on over to the Elizabeth Craft Designs Blog to see how I made a stencil and then turned it into a card and gift tag.  Hope to see you there.


Enjoy,
S@ndy