Showing posts with label Clear Scraps. Show all posts

Saturday, December 10, 2022

Changeable Picture Frame

Hello crafty friends, I'm here today with a fun little project that will bring a smile to your face each time you look at it.  I used the clear 8" X 8" Bookstand from Clear Scraps to create this flexible and changeable photo frame.


As you can see here it is easy to make it into any type of you like simply by making a switch in the photos and the letters.

I began by cutting out two cardstock frames that are the same and then glued them together at the edges making sure to leave enough space to slide a photo in.


I used a thin magnetic stripe on the back of the frame (shown by the arrow).  This magnetic material can be cut easily with scissors.  Then a matching piece of magnetic material was glued to the acrylic. 


For the letters I used a coordinating cardstock and cut squares. This will vary according to the size letters you use.  Then magnetic material was cut in slightly smaller squares and adhered to the back.


As part of the design a thin magnetic stripe was added to hold the letters.

As shown here, you can make any color or design you want with just a few changes.


Thanks for stopping by,

Sandy

Wednesday, September 28, 2022

Happy Fall Y'all

 Hello Friends,

  Although it is still blazin hot here in Arizona, I know it's beginning to cool off in other places. That made me think about a cute little garden gnome.  While I love any kind of gnome this one is especially cute because he also lights up.


In this photo you can see him greeting guests on my front porch and he is totally adorable with his fall colors.


 Here he is after dark - still greeting our guests.
 

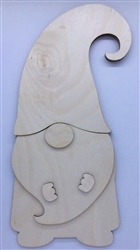
I began with the Medium Wood Gnome 1 from Clear Scraps for this one.


 I began with covering parts of the base with paper, then the hands and nose were edged with a little pink,


 The beard portion was painted with orange and some small holes were drilled.
A string of battery operated lights were placed through the holes.  Some (lots) leaves were cut out of vellum.
By using vellum the light will shine through.


 The entire beard and lights were covered with leaves - leave space for the nose.
 
 
On the back of the hat and beard pieces I used double sided foam tape to lift the pieces up leaving room for the lights.
 
 
 A Happy Fall Y'all sign was added and the nose and hands glued on.
 
 
Thank you so much for stopping by - hope you got some inspiration.

S@ndy


Wednesday, September 21, 2022

My Little Monster

 Hello my crafty friends,

I'm here with a cute little frame that can be assembled quickly with such fun results.

I used the Base with Square Frame for this project.


After all pieces were painted I added a favorite photo and assembled the frame.


Once the frame was added to the base, it was time for me to embellish with some monsters and stars.

Thanks for stopping by,

Sandy

Saturday, August 13, 2022

Friends Frame

 Hi friends,

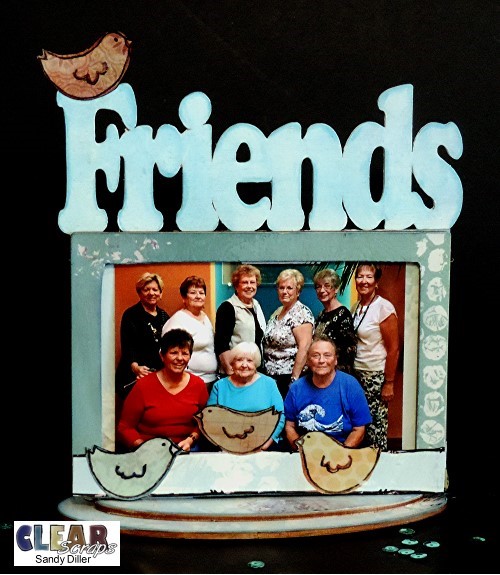
It's Sandy Diller here with a fun little project that will create a memory that you can enjoy for a long time to come.   I used the Friends Desktop Frame to make my memory.


Simply add the photo of choice.


I began by painting the word "Friends" with acrylic paint.


After choosing the paper and design I liked I added the paper to the frame and base using double sided adhesive.  


I did a little fussy cutting on the birds so I could add them to the frame.


Thanks for stopping by,
Sandy

Tuesday, August 9, 2022

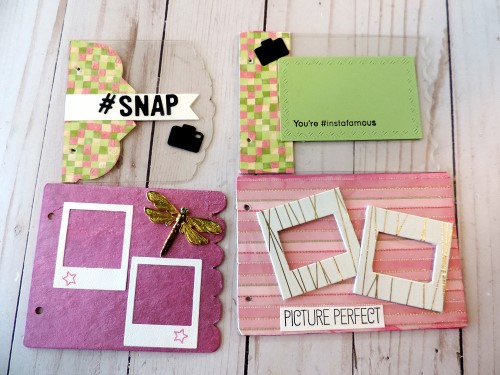
# SNAP

 Hello Friends,

I'm here today with a fun little album I made for a child returning to school after summer break.  I used the Mini Mixable Little Bits album for this one.  It is small enough to fit in a backpack yet has room for several photos.  I left the top of each frame open so a photo can slide in easily.

I began this project by covering the back page with paper and painting the center page pink.
Then some edges were added to the acrylic pages.        


I added some cute phrases and banners that go along with photos.


I did a little stamping to add color, the photo frames on the right are actual slide frames that have been covered with washi tape.


Rings were added to the holes to hold it together.


I like to add colorful ribbon to the rings just for fun.

Thanks for stopping by,
S@ndy

Wednesday, June 22, 2022

Happy Birthday America

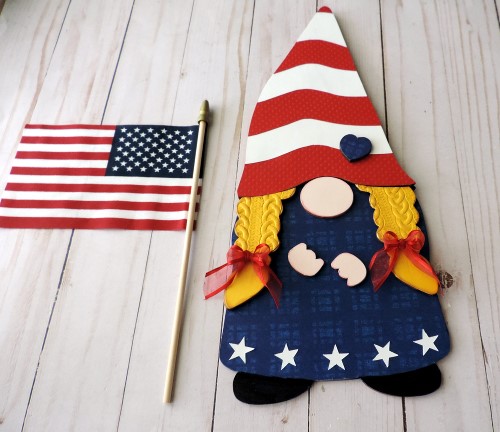
 The 4th of July will be here soon and I love the colors of our country.  I've decorated this adorable gnome to celebrate the season.  


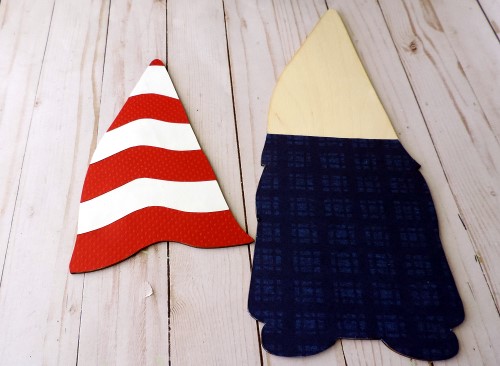
This project was fun and easy.  I began with the Medium Wood Gnome Girl shown below and then simply added the colors I wanted.  


I first covered the hat with alternating red and white strips paper in a wave pattern.  Next came the body that is covered in a blue plaid.  I used a black marker to color in the feet.

Before the hair was added it was embossed to give texture and then edged with some brown ink.  Every patriotic gnome needs a red bow.

The nose, hands and the star were all decorated and edged with the proper color. (blue was added to the heart later).


All the pieces were placed - some white stars were added and then glued in place. I added the flag before gluing the hands.

I like to mix things up sometimes to I used the "Summer" from the Word n Shape Summer - Flip Flop.  You will see the Flip Flops later in another project.  I painted the word blue to match the theme.


To make this little guy stand up I used the base from one of the Frameables, covered with paper and                                            then added some grass using a die from my stash.


Now that all parts are assembled she is ready to party!!

Thursday, May 19, 2022

This is Us

 Hello Crafty Friends,

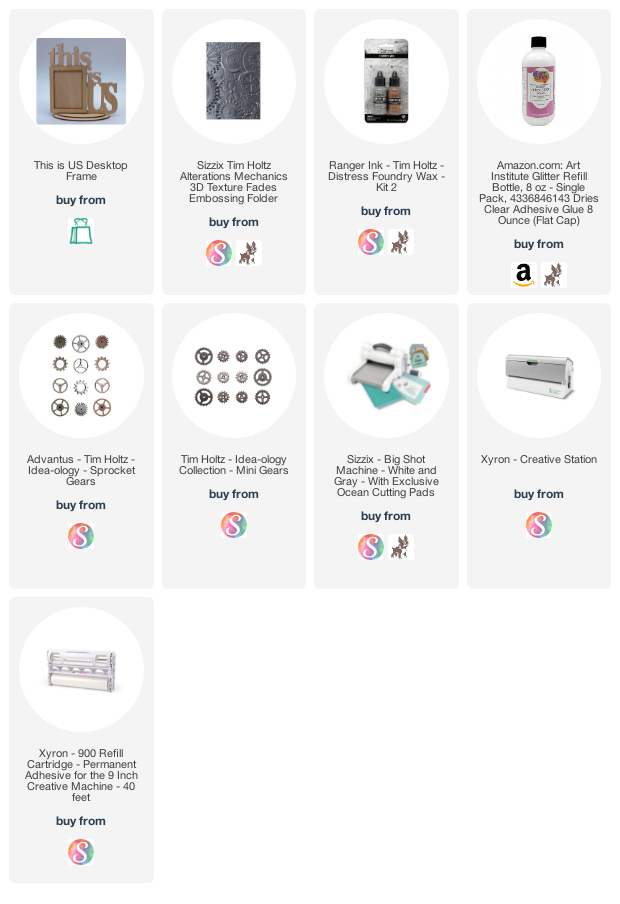
Today I have a fun little project that I created for Clear Scraps using one of their fabulous This Is US Desktop Frame.  I love Steampunk and all the images, gears, cogs and top hats that go with it.   I had some fun with photo editing and got out some of my favorite things from my stash.  Our grandson recently visited so I used a photo of him and grandpa in a playful way.


I began by embossing some metallic paper and covering the frame base.


Some editing was done to the photo by removing the background and adding some clipart top hats.


I used another embossing folder to add gears and texture to the top frame piece.


All the frame elements were layered together.


I covered the frame with Foundry Wax and then heat set.  I added an extra color to give the project that rusted look.  Everything was heat set to make it permanent.


After digging around in my stash I found what I wanted to add to the frame making it as steampunk as possible.


I glued everything in place and then added a little fun to the photo using some small dies and gears.

Thanks for stopping by and I hope you enjoyed my steampunk moment.

Sandy