Showing posts with label ClearScraps. Show all posts

Monday, November 1, 2021

Hello LOVE

Hello friends, I'm here with you today and I have a fun & festive little project.  I used the Love Desktop Frame along with a 4" X 6" Quarterfoil stencil. 


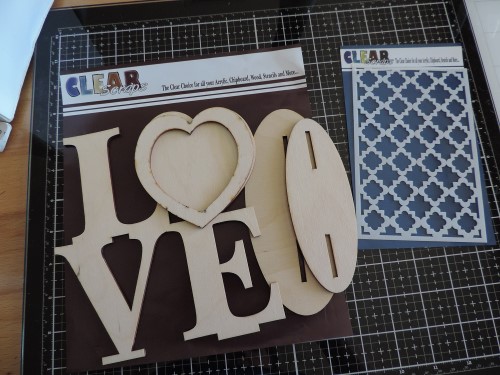
The first thing I did was cover the back of my paper with double sided adhesive so it could be added to the Love Frame and also to the oval bases. 


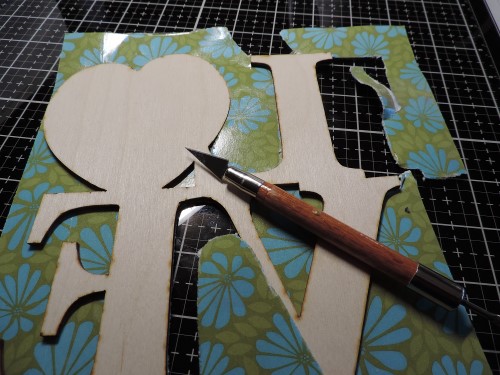
After removing the tape liner The LOVE Frame was placed face down on the sticky side. (I used double sided paper so you are seeing the back side above) 
The excess paper was cut away.


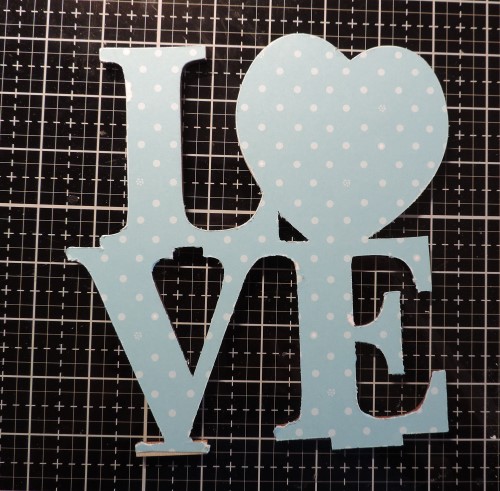
After cutting away the paper it looked a bit sloppy so I smoothed down all the edges with an emery board to make it smooth and define the edges.


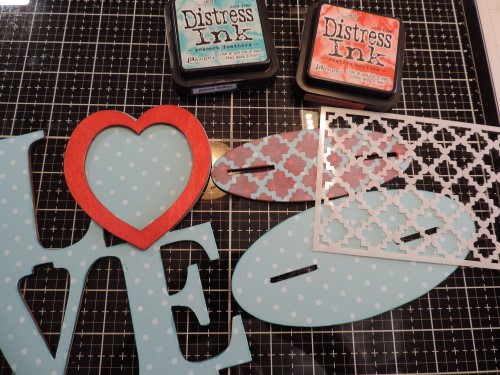
Everything was edged, in this case I used blue to match the paper color.  The small section of the base was stenciled with red and the extra heart was also colored red using the same ink and a blending brush.
After stenciling the small section of the base - it was ready for some feet.


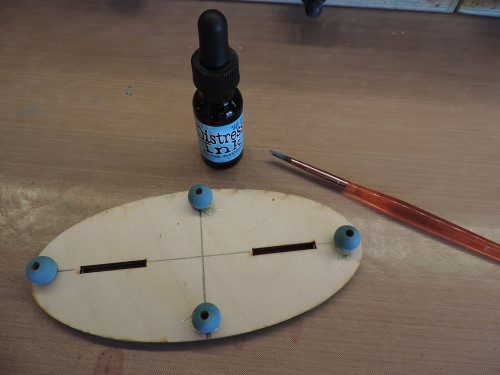
I had some wooden beads in my stash so I painted them with a reinker to use them as feet - then attached them using hot glue.


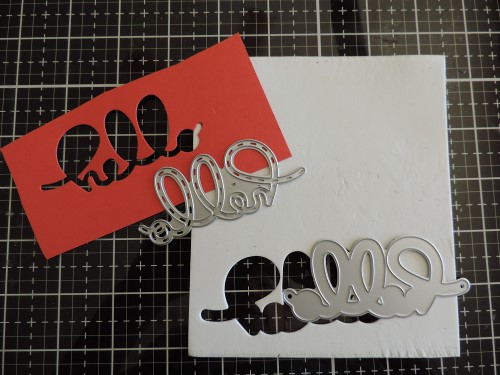
A fun little greeting "hello" was added using a die from my collection. 
 I used fun foam to make it pop up.


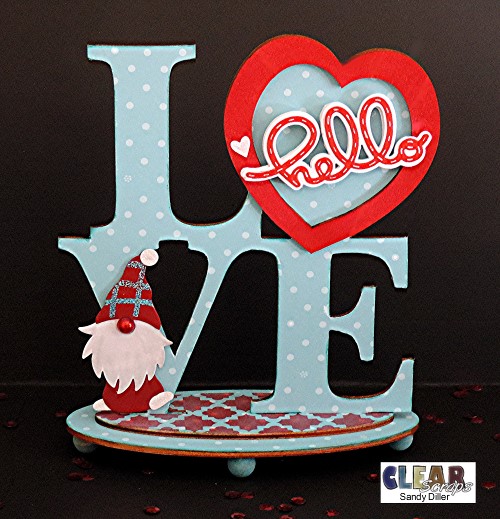
For a fun finishing touch I added this cute little gnome that was hanging around on my desk.

Thanks for joining me today and Happy Holidays,

S@ndy

Thursday, June 1, 2017

New Challenge at A Vintage Journey - Canvas

Hi fellow travelers, 

Today is the start of a new challenge at A Vintage Journey and our lovely hostess, Nikki, has asked us to use canvas.  I chose to use a small canvas from my stash that I got at a flea market, it already had something on it but not something I wanted.  I simply put a coat of gesso over the old and started the new.

My canvas is the celebration of Summer.  A time when the kids are out of school for awhile and things are a little easier.


 We have a wonderful sponsor and giveaway this month.


We would love for you to join us for this fun challenge.  Just click here and then follow the Inlinz prompt to submit your entry.  Good Luck! 
 
The randomly chosen lucky winner will receive a $25 voucher to spend in their store.

Here are a few steps that I took to create my canvas.
 

Starting out with a Gelli Plate, spread green and blue paint.  Next lay a stencil on the paint, the pattern really doesn't matter as it is only used to give some random texture.
Place your canvas face down on the painted surface and press down so the paint transfers to the canvas.

 
Let paint dry, mix up some texture paste with color of choice.  For this canvas I wanted sunshine so I used Distress Oxide Fossilized Amber reinker to color my paste.  Next spread the colored pasted through a stencil.  I used a Tim Holtz stencil here to create my sunshine.
 

While you are waiting for paste to dry, begin getting all the other elements ready to add.  This cute little bicycle is from ClearScraps. I added a couple gears from Tim Holtz and then a coat of gesso.    Truthfully,  I did a few colors before I came up with what I wanted.  You can change colors as many times as you like by simply adding another coat of gesso and starting again.  In the end I got the effect I wanted by stippling the colors on.
 
For the finishing touches - some small flowers and balloons were added using some dies from Karen Burnistion's Pop it Ups collection from Elizabeth Craft Designs.  The balloons are added using wire and then wrapped through the basket on the bike.  The word "Summer" was cut from fun foam using an Elizabeth Craft Designs die from the A Way With Words collection.

 
Please hop on over to A Vintage Journey to see what the team made for this great challenge,
 it will be worth the trip,
S@ndy