Showing posts with label Stampin Up. Show all posts

Thursday, February 1, 2018

Melt it at A Vintage Journey

Hi friends,

Today is the start of a new challenge at A Vintage Journey.  I hope you will stop by to see all the great things the Creative Guides have made to inspire you.  You can see it all by CLICKING HERE.  Our challenge this time was "Melt It".
I made a simple yet colorful tag and used embossing powder in two different ways as my "Melt It" object.


This a rather simple tag with lots of color.


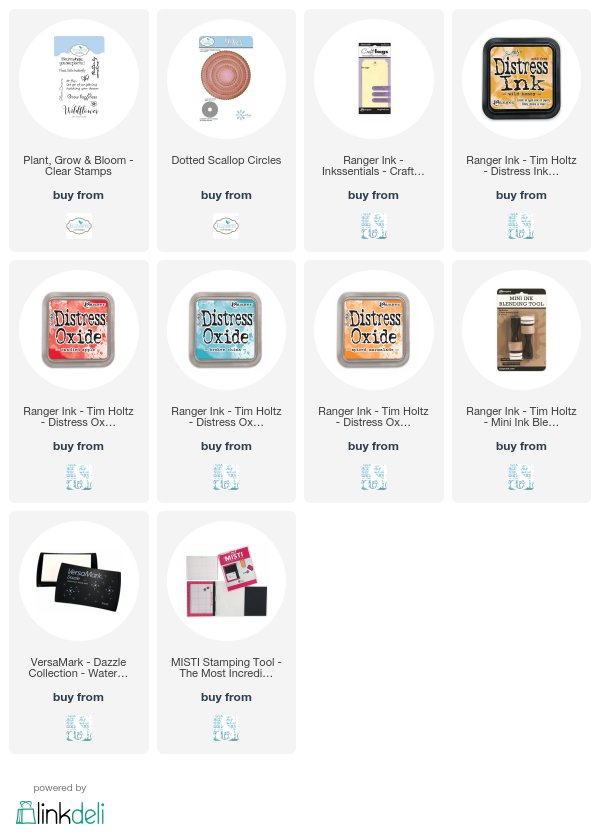
I began with a manila tag, then added Distress Oxide Inks, Candied Apple, Spiced Marmalade,
and Wild Honey.


I stamped on the phrase and little butterfly from the Elizabeth Craft Designs Plant, Grow & Bloom stamp set using VersaMark Ink and then some Bravo Burgundy embossing powder from Stampin' Up. 


I cut a Dotted Scalloped Circle, cut in half.  It was embossed with Karen Burniston's Butterfly embossing folder(discontinued) and then colored with Wild Honey Distress Oxide and then edged with Frayed Burlap Distress Oxide.


For the butterfly, I used the Elizabeth Craft Designs Butterfly 1 die set (discontinued).  I colored the solid one with Broken China Distress Oxide Ink and the lacey butterfly was covered with VersaMark Ink and then covered with gold embossing powder - heated to melt the powder.


The final step was to layer everything and tie a ribbon on the top.

I hope you will join the fun and enter this month's fun challenge.  You can do that by

See you Monday with a fun tag.  Until then - have a creative weekend,
S@ndy
Monday, March 23, 2015

Make 'em Laugh!

This month Karen Burniston is challenging her design team to "Make 'em Laugh!"
and of course I wanted to join in.  With Easter just around the corner I thought it only logical to use an Easter inspired theme as well.  I just love those crazy head bands that are on the market for most holidays and thought perhaps Whiskers and Buster would like to join the fun and disguise themselves as a bunny.

Guess who?


I used the Adirondack Chair #975, although you can hardly see it now.  Whiskers the Cat #973, Buster #984, trees, blossoms & clouds from the All Seasons Tree Set #781, grass from the Outdoor Edge Set # 914 and the pail from the 
Palm Tree & Pail Set #987. 
I found some free clipart on the web and used it to fashion the ears, cutting them out by hand and then drawing in some of the details.  I hope it makes you laugh.


Here is the front of the card where I used two stamps from Stampin Up and the labels from  the Katie Label Pivot Card # 768 along with one of the Agatha Edges #782.
 
Have a great week and don't forget to stop by the Elizabeth Craft Designs Blog on Wednesday to see all the cards from the Design Team and a new video from Karen.

Keep Laughing,
S@ndy

Monday, November 10, 2014

Red, White 'OR' Blue

Hi my friends,

This month I am playing along again with Karen Burniston's monthly challenge.  I thought the theme sounded like fun.  At first I thought it was Red, White & Blue but then kept reading the challenge description and saw that it is OR not AND.  Karen is allowing us to use one neutral so I chose silver to go with my blue.

I love the new dies from Karen's collection but my favorite is the Clocks and Gears.  She designed this one because of a request from Shelly Hickox - thank you Shelly.

I was feeling a little silly today and had an idea for this card using the Gears and the Sprial Circle Pull Card Die.  Of course Hoppy the Frog is right there taking the spotlight.  He is on one of the Art Impressions "Action Wobble" springy things.


HERE'S HOW I DID IT
 

I usually make a template to check my measurements before I cut into the paper I intend to use.  As you can see, it took me a couple of tries to get what I wanted which was to have the circles overlap on the front of the card.


I started with an 8.5" X 11" paper and cut it to 5.5" X 11".  I scored it at the 4" mark and the 7" mark leaving  a 3" center section.  After I die cut the card, I decided to make it only 5 " tall so cut 1/4" off the top and bottom, ending up with a 5" square card.


I lined the center nubs of the die with each score line 1/2" from the top with the circle portion going toward the outer edge each time.


Since I wanted the circles overlapping on the front I didn't have room for the little notches.  I placed the cutting pad only over the portion of die that I wanted to use.  I like to use an On The Edge Cutting Pad for this but if you don't have one you can slide the cutting pad up so you only cut the portion of the die that you want.


So now all that is left is to decorate and that's always the fun part.  I used the gears from the die set, some metal ones from my stash and also some stamped and embossed images.  I wasn't sure about a blue frog but as it turned out - Hoppy is cute in any color.  I then embellished his eyes with gears and rhinestones.


Hope you've enjoyed my card as much as I enjoyed making it.
Have a great week and "Be Hoppy".
 

Sunday, October 28, 2012

Charms of the Witching Hour

This has turned out to be my LUCKY week!  I was the lucky winner of not only the fabulous $50.00 gift certificate at Simon Says Stamp but also chosen as one of the top three for my entry below.  Thank you Simon Says Stamp. I have wasted no time spending my prize money.  When the UPS truck arrives I will be sharing some new projects.


With Halloween upon us I decided to get in one last project.  This is such a fun time of year and there are so many themes to go with.  Over at the Simon Says Stamp Blog the challenge theme was something using Wendy Vecchi. Wendy is having a very busy time lately as she is also featured on the eclecticPaperie Blog Hop this week. I dug around in my stash and came up with Wendy's Art Parts Pocket Watch, after a little more digging I found a great piece of Graphic 45 Paper called Charms of the Witching Hour.  Since I love anything clock related I think you can guess where this is going.  It was great fun.


It is a real battery operated clock.  I started out with the Wendy Vecchi Pocket Watch using both the solid one on the back and the die cut to layer on the front.  I used copper embossing powder on the front.   After cutting out the paper and clock I layered them on the front.  Next I drilled a hole in the center for the clock works. 

The large pumpkin on the side is not attached but thought it looked cute for the photo. It is made with 6 Rosettes, a Tim Holtz Die. I made the 6 rosettes (2 of each size) and stacked them with the 2 largest ones in the center and used the graduating sizes on top and bottom.  The pumpkin, leaves, fence, clock, tree, witch and bat are all Tim Holtz dies.

In order to make the clock stand up I made a stand out of black chipboard.  The platform is a Stampin Up Die - Top Note. 

Here are some photos of the back so you can see the construction.