Showing posts with label Gift Pivot Panels. Show all posts

Tuesday, August 17, 2021

Happy Birthday Wishes

 Hello Friends, 

I made this card for my daughter's birthday which was last week.  I had some old birthday paper in my stash and it was just perfect for this card.  


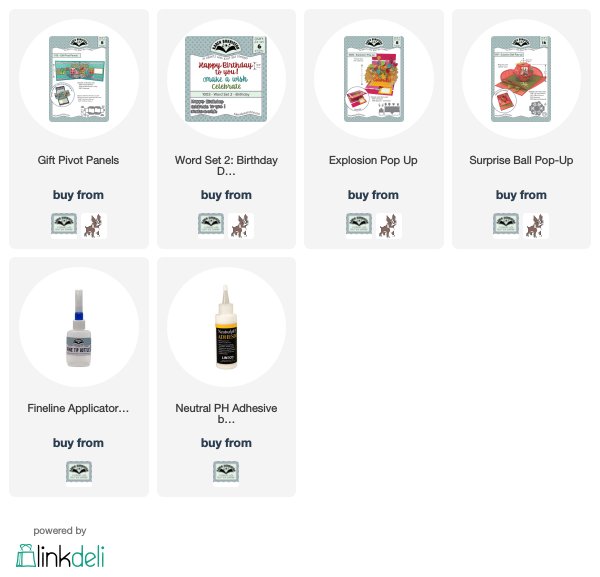
You can learn all about the products I used in the links below.

Have a creative week,

S@ndy


Monday, March 2, 2020

In Case You Missed It!

Hi everyone and welcome,

Today is the first Tuesday of the month and it is time for the Karen Burniston Designer Challenge. This month Karen has asked us to make a do over or repost something that we especially like.  I have lots of birthdays this month so I have started with a do over card that I made for my friend Susie in December.  This time the card is for my son who has a birthday on March 20th.


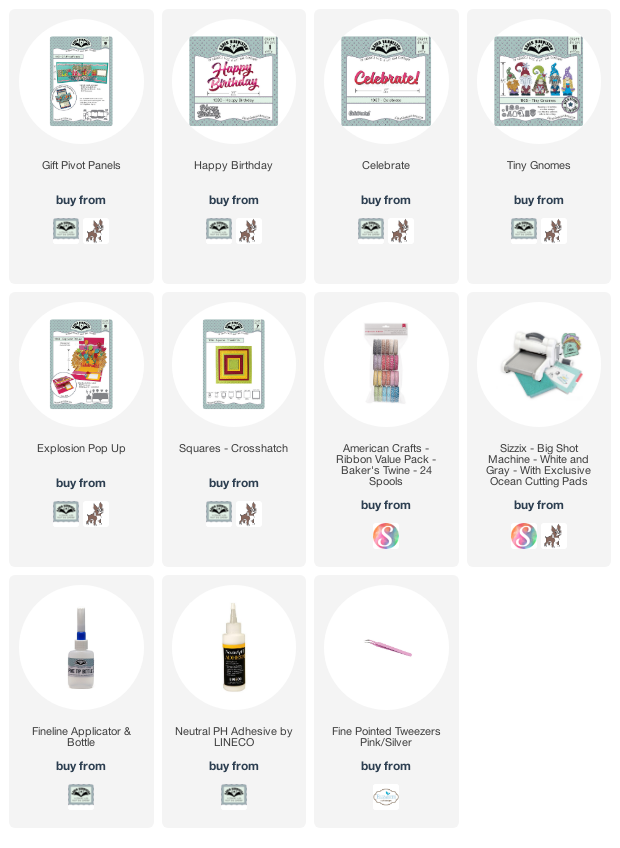
Since this one is a masculine card, I decided to go with this cute little truck.  I added some gifts in the bed and added some cute "little" bows from the Cake Trims.  The squares are the Crosshatch Squares.


 I used coordinating colors on the Gift Pivot Panel on the inside for a cheerful card.  These bright colors are perfect for a Spring Birthday.


Here is the inspiration card that started the whole thing.

Don't forget to check out all the great cards from my talented team mates on the
Karen Burniston Pop Up Peeps.

Stay Crafty,
S@ndy

Monday, January 20, 2020

The Gnomes Are In The House

Hello friends and welcome back,

So happy to share a card I made for a friends birthday.  I'm in love with Gnomes right now and got my final set of gnome stamps in the mail the other day.  

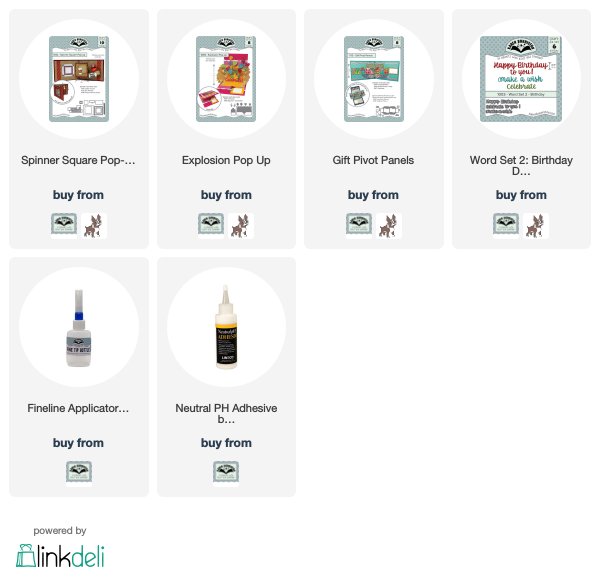
I combined the gnomes with some fun dies from Karen Burniston.  I've linked everything blow so you can simply click on the image to get all the information.


This little guy turned out soooo cute and then I placed him in the window with the balloons and gifts so he could be seen from the front and the inside of the card.  Because, after all, you can not have too much a cute gnome.  I used the Spinner Square on the inside and have the Happy Birthday spinning when it is opened.

To see how to assemble this card - click here.  Karen does a much better job of explaining it than I ever could.  She even shows how to create the window.

Happy Crafting,
S@ndy

Tuesday, December 10, 2019

Festive Birthday Greetings

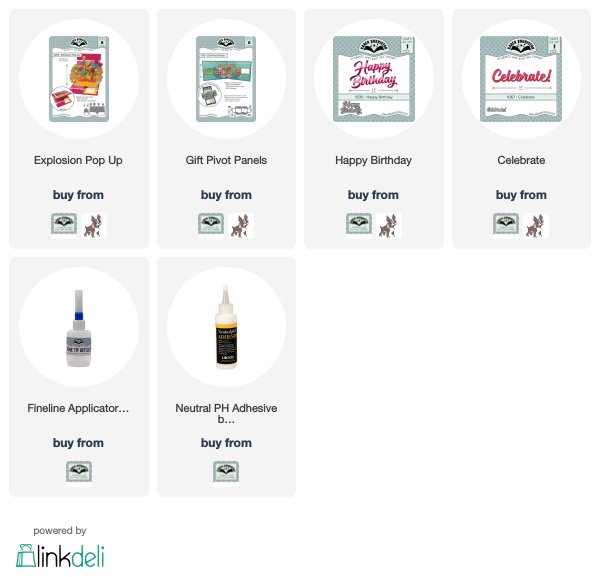
Just fast stop today to share a birthday card that I made for my friend.  I saw her yesterday gave her the card so it is safe to share today.  I used the Karen Burniston Gift Pivot Panel along with lots of balloons from the Explosion Pop Up for a festive look.


This card looks difficult but is actually simple to put together.  I added a small piece of acetate on the  back of the balloons that are not attached to the back of the card. You can't see it but it adds strength to the design.

For full instructions on how to assemble this die set - watch Karen's video here.


I kept the front of the card very simple with a few stars and the word Celebrate.

You can get more information on the products I used by clicking the links below.

Happy Holidays,
S@ndy

Friday, November 22, 2019

Birthday Greetings

Hi Friends,

I made this bright and colorful birthday card for a friend.  I had no trouble finding colors that worked well with each other because I used one paper pad.  If you have difficulty finding just the right color or element this is the easy way to get good results.  The paper pad was an older one from my stash so I'm afraid that I can't give you the name.


I used the new Gift Pivot Panel from Karen Burniston along with a few other dies from Karen.  If you would like to see a complete video tutorial on how to assemble this die set click here.

I kept the front of the card very simple by using only the papers in the paper pad.


One of the papers in this pad had a star border so I placed the die on the boarder to make an anchor for the gifts that will go on later.  I found all the crease lines made by the die and folded them in the correct direction.


I added the pivot panel to the inside of the card while it was flat.
Be sure to watch the video linked above to see how this step was done.  I couldn't be much easier.
When you close the card the pivot section will find the crease lines and fold up nicely.


I added the gifts and few other embellishments which I have linked below.

See you again soon,
 S@ndy