Monday, October 13, 2014

"Make it Manly" - Karen Burniston's October Challenge

Hi -

Making a card or project for a man is always a challenge but with Karen's new Clock and Gears accessory die set I was able to breeze right through this one. 
Thank you Karen!

I used the Spiral Circle Pull Card for the base of the card, it's so fast and easy to get a great effect.  I just love the built in tabs to keep the card closed, all made with one pass through the die cutting machine.


Here's how I did it!
 
I selected my paper - I only needed four different ones for this card.  I used black for the base and clock hands and a couple of gears, a pattered piece for the side panels and some beautiful copper for the clock and gears. 


I cut out the card body by placing the alignment nibs on the center fold and then ran it through my machine.  I wanted my finished card to measure 6 X 6 so cut my black paper 6 X 9.


From the patterned paper I cut 2 side panels, the size can very according to what you wish to do.  I like to edge my panels so used some Vintage Photo DI.


I attached the panels to the card and then rounded the corners.  I used my electronic cutter to make the panels, one that says "Happy Birthday" and the other that says "You're not old - You're Vintage".  For this I used some manila paper.
 
 
After cutting the clock face, I decided to scatter the numbers all around the card for some added interest.  I then cut out a few gears and began to assemble.  I used my Xyron X machine to add the adhesive to the numbers.


At this point I decided that I could use a couple more gears so cut two more for the inside of the card.
 
Such a fast and fun way to make a card that looks harder than it is to make.
 
Have a great week.
 

Friday, October 10, 2014

Happy Haunting

Hi Everyone,

Just a fly by to wish all of you a crafty weekend.


Get out all of those Halloween things and make something fun!
 

Sunday, October 5, 2014

Destination Inspiration @ A Vintage Journey, Ice Resin

Hi all my blogger friends,

I would love for you to join me over at A Vintage Journey today,  I am sharing some tips and a tutorial on how to use Ice Resin.
 
Here is a little "Sneak Peek"


Hope you will come by for a look, see you there.

Thursday, October 2, 2014

Heavy Metal

Hi Everyone,

When our host, Terry, told us her theme for our current challenge is "Heavy Metal", over at A Vintage Journey, I was so excited because I have something different to share with you.  I hope you enjoy my "Heavy Metal".

Here is my take on an idea I first saw from Susan Morse in Cloth, Paper, Scissors Magazine - July/August 2010.


As a paper crafter I like to use my supplies in as many different ways as possible.  I'm sure you will recognize many items on this necklace.  Definitely Tim's influence with the gears and clock.  
 
I like to shop at the hardware store and use my finds in my art, using washers in addition to the gears. The base of this piece is a painted "Striker Plate", also from the hardware store.  If you aren't familiar with what a Striker Plate is, it is part of a door frame where the latch from the door goes into the frame to keep it closed.  Shown below-


OK, I admit that I am very lucky to have my own "In House" glass artist, Mac.  I go to his workshop and pick out pieces of glass that I like to use in my projects.  That's just what I've done in the examples below.  I have also used a lite weight copper sheeting that has been embossed with Texture Fades.
 

A painted striker plate,  hand picked glass, embossed copper, copper wire and some beads - you're good to go.


On this one I used even more paper crafting supplies.  The red and gold is embossing powder.  I really like the texture that it gives.  Since the striker plate is metal, I put it in the Melting Pot using a parchment paper liner (big enough that I can use the liner as a handle to lift it out) and let it get hot.  Sprinkled the embossing powder over it,  when the powder was nearly melted, I say nearly because the metal is hot and the powder will continue to melt after you remove it from the Melting Pot, carefully remove it and place unto a non stick craft mat. This is very hot and stays hot for awhile so if you did not use parchment, use a spatula to remove it.  In the center opening I used drywall mesh, also from the hardware store, and then embossed it as well.  Just add a dragonfly and a few rhinestones.

Below is a photo of another necklace I made for a challenge a couple years ago.  I still love it and wear it.
 

I hope you are inspired to think of your crafting supplies differently and you have enjoyed my take on "Heavy Metal".

S@ndy

Wednesday, September 17, 2014

My Very Own Steampunk Guy

 Hi Everyone,

Today I am excited to share a mixed media project that I have been working on for a couple of days and I am so happy with the result.

While visiting with our grandson earlier this summer I took this photo with my phone and I really liked it so decided to make Matt into my very own Steampunk Guy.  I could envision him with a top hat and a monocle.  Here is how my vision turned out.


Since I now have this canvas completed - I plan to enter it in the contest over at Mixed Media Monthly Challenge Blog where they are having a color challenge.  You can read about it here.  They are challenging us to use the colors in a photo they're showing.  One of the main colors is blue and it was a true challenge for me to use blue since it is one of my least favorite colors.  Who knows, I may be the lucky winner of the prize offered by Ellen Hutson.
      
I had an 8 X 10 canvas from my stash that I had already done some experimenting with.  It already had some blue paint and some stars on it.  The stars were an experiment with molding paste and a Tim Holtz Stencil.   I cut two die cuts from the Frameworks Die from Tim and Sizzix.


Next I added a couple of pieces of paper that had been dry embossed with clocks and gears Texture Fades, both from Tim and Sizzix.


Using the Gadget Gear Die I cut some gears and then added them as well as some squares from Grunge board pieces, some metal gears & clocks from Idea-ology.  I covered the entire thing with Gesso and then sprayed the entire canvas with Afternoon Delight Spray from Lindy's Stamp gang.  I set everything aside to dry and went to work on my photo and top hat.


I sized the photo to fit on the canvas and then made the top hat on the computer using Microsoft Publisher, my all time favorite program for design.


After cutting out the photo I glued it on cardboard and then cut it out again.  I edged it with Vintage Photo DI.


Next I added some stamping on the photo, I used black and then clear embossing powder.  The stamps are an old set from Stampin UP.


After designing and sizing the top hat I cut it out making a template and then used a silver cardstock for the actual hat.


Next I dry embossed the hat, applied some Black Soot Distress Paint and then wiped off the excess.  I then added a red ribbon hat band by cutting a slit in both sides of the hat and pulling the ribbon through.


I wanted the hat to have some demention so I added a double layer of pop dots in the center and single on the sides.

Next came adding Matt's name on the squares and then painting them and adding more texture.  I painted the lettering with Barn Door Distress Paint.


I admit that I played a lot with all the elements but got everything just where I wanted it.  I added the photo and hat using foam back tape.  That made it pop off the canvas and added even more texture.  So far I'm happy.  I just love when a plan comes together the way you see it in your minds eye.  I used embossing powder on some of the elements and also on the canvas itself.  You can see the red on the edge of the canvas. At this point I simply continued to add things until I felt it was done.  More gears and the wings on the hat all topped off with a piece from the Finnabair collection.


Hope you have enjoyed my adventure into mixed media and you are inspired to try one yourself.  It's great fun.
 
Have a creative day.
 

Saturday, September 13, 2014

A Visit To The Pumpkin Patch

Hi My Blogger Friends,

Today I decided to have a little fun and take you on a trip to the pumpkin patch.


Over at the Sizzix Blog they are having a challenge inspired by the photo below.  You can read all about it here and enter the challenge. 

I saw today that Linda from Studio L3 has her new Compendium of Curiosities Challenge #11 going which is to use Effect Powders from Tim's current book - so no reason not to enter there as my pumpkins have powder on them.  The Inspiration Emporium is offering a fabulous prize and so is Tim and Mario.  Wish me luck!!


If you've ever been to my home you know how much I love glass - so - got right to work.


I started out with one of those plastic Christmas ornaments (looks like glass).  I took the top off and then painted one side with Wild Honey and Rusty Hinge Distress Paint.
Set it aside to dry-


Next up I cut out my large Pumpkins using the Pumpkin Jack Die and then embossed it with the Wood grain Texture fade.  Here I used the Stampin Up paper, Pumpkin Pie and the darker one is Cajun Craze. On the first one I added the embossing powder, Spiced Marmalade, after dry embossing.  The darker one was dry embossed after adding the same embossing powder.  They don't look too much different but they feel very different with the darker one having more texture.  I then cut out three smaller pumpkins using the Mini Acorn and Pumpkin set.


I wanted to contain my pumpkin patch so went stash diving and came up with this container.  I only used the lid.  I painted it black and decorated the outside with Washi Tape and a beaded border.  I then glued the lid to a small glass candle votive.

 
Next I put the large pumpkins together, cutting off the bottom of one so they were at different heights.  I cut out a few cuts from the Branch Tree Die for added decoration.
After adding a cut from the Small Easel Die, it stood up.
 
 
Now that my bulb was dry I cut out a face using the Mini Jack-o-Lantern set from black.  I set the decorated bulb on a battery operated candle and decorated the base.


I'm now ready for assembly.  I had some leaves left over from my last project so used those as well.  You can see how I made them here.  It is hard to photograph glass and acrylic without glare but Mac does a great job taking photos of my finished projects.


Have a great weekend and make something just for the fun of it!

S@ndy

Wednesday, September 10, 2014

Compendium of Curiousities - The Assemblage Clock

Hi Everyone,

We are home from our travels - had a great time and saw some amazing things but - there is no place like home.  I'm so happy to be here and working in my studio again.

The lovely Linda Ledbetter is continuing to host the Compendium of Curiosities Challenge over at her blog, you can see it here.  The Curiosity Crew has made some fantastic items with the main theme being Halloween and Christmas.  I know it seems early to be thinking about these holidays but they will be here before we know it.  We are up to Challenge 10 and I was very excited to see that this time around the choice is the Assemblage Clock.  This is my favorite of all the great products that are featured in Tim's new book.  We are to use the clock for this challenge but after that, no rules.  I am hoping to win one of the great prizes, one from The Funkie Junkie Boutique and another from Tim and Mario.

The challenge over at Inspiration Journal is a fall theme and nothing says Fall like Halloween.  I will be adding my link there for sure.

Here is what I have to offer you!   Hope you like it.


I started out with the clock of course, I removed the back as well as the glass.  I covered the entire thing with gesso.


I knew I wanted a purple-ish blue but didn't have the colors I wanted so had to make it up as I went along.  I tried spraying it with "Afternoon Delight Denim" for Lindy's Stamp Gang but it was too blue so I said to myself "self" why not try some Alcohol Ink?  I squeezed some Eggplant Alcohol Ink directly on top of the blue and then spread it around with a foam brush.  Don't ya just love when a "happy accident" occurs?  It was perfect. The blue showed through the purple just enough.


I cut a circle from velum the same size as the back of the clock and then added some Mustard Seed DI on the edges.

I decided that I could make this project good for three challenges so made some leaves using the method that Tim challenged us to.  You can see how he made his butterflies here.


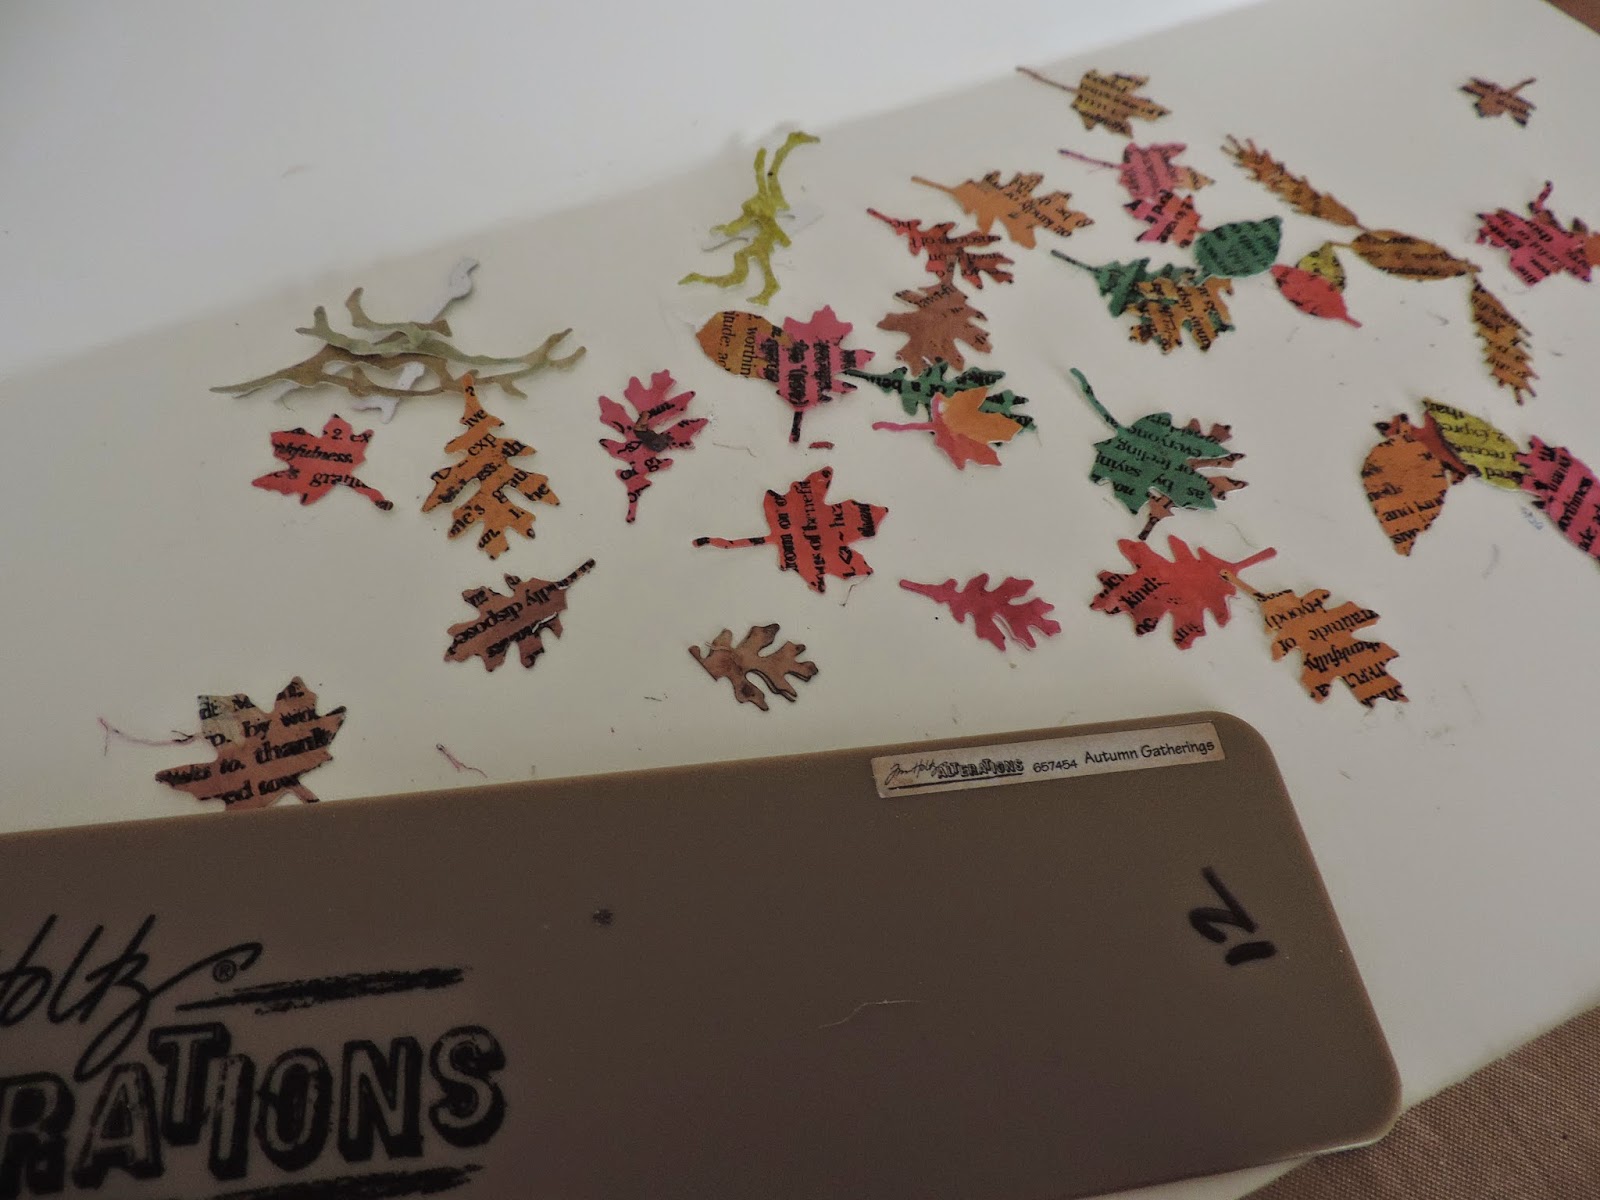
I colored my glossy cardstock with different colors of Alcohol Inks and then used the Autumn Gatherings die to cut out my leaves.  Since I hate white edges on things, I colored all the leaf  edges with a Distress Marker.  Rather tedious!!

I cut out my haunted house from a Cottage Cutz die and the Branch Tree from Tim and Sizzix,   I made the bow from Crinkle Ribbon that I died with a combination of Wild Honey and Squeezed Lemonade DI.  I cut the spider from the Candlelight Fright die and added some rhinestones.  I cut some cobwebs with the stripe die from Sizzix.

After assembling all the components I felt I needed just a little something more so cut some pumpkins from Honey Pop Paper to give some dimension.


Here's hoping a "happy accident" happens to you.

S@ndy