Showing posts with label distress ink. Show all posts

Friday, October 27, 2017

Find Your Muse

Hi friends and welcome,

I recently had an opportunity to work with some great products from

emailsigmerchandise
printables for mixed media and collage

These are wonderful prints that stir the imagination, available here. 

If you are not familiar with Mixed Up Magazine, it is a fabulous digital magazine issued every two months that is packed with wonderful projects, tutorials and videos.

I love vintage so this was the perfect chance to make something with that vintage feel.  


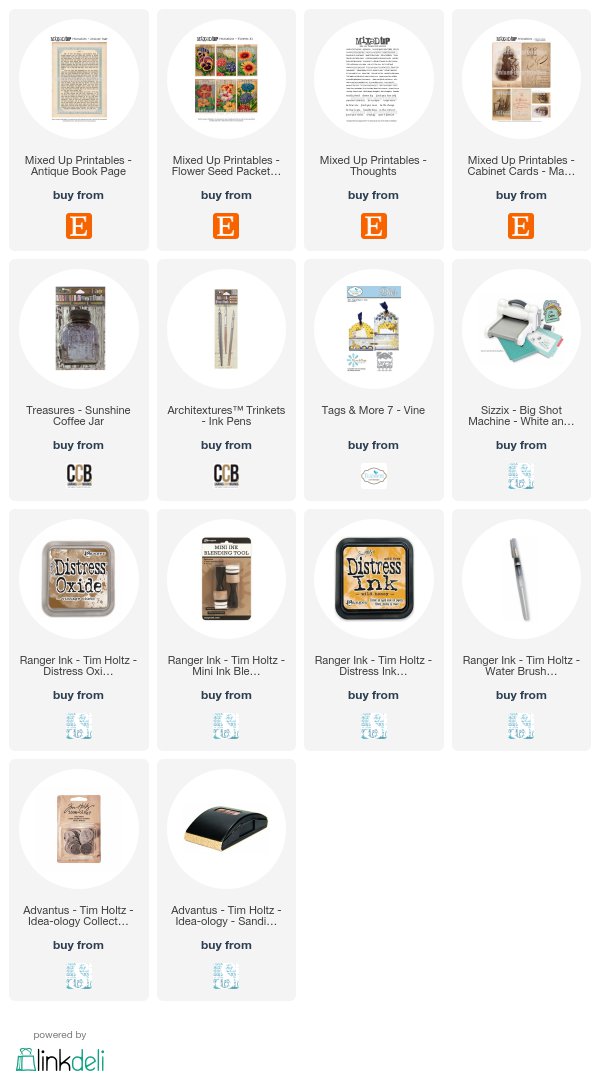
If you care to stick around for awhile, here are some photos from the process. All products I used are linked at the end so you can shop easily.  Simply click on the link for all the important information.


I began this tag by cutting a piece of chipboard that measured 4.5" X 9.25".  Then an Antique Book Page was glued on.  I placed a tag die at the top of the panel knowing that the die would not cut through the chipboard because it is a wafer thin die.  It was run through the die cutting machine and it left an impression that I could follow and cut by hand leaving a perfect design.  


After cutting, it was sanded and then a light coat of Oxide Vintage Photo Ink was added.


Because the goal was to push the print further into the background - the entire tag was covered with modeling paste and then wiped off with a flat surface (an old credit card or gift card). This process pushed the print to the background leaving a white film on the tag.  More Vintage Photo Ink was added, heavier around the edges.


Next the desired pieces were fussy cut from Cabinet Card-Maggie,
Printable Thoughts and Flowers #1.  They were then edged with Vintage Photo.


Using 2 sets of Architextures from 7 gypsies - I added them on the right side of the tag.  Using foam tape to give dimension the Printables were added.


For the finishing touches, some small beads were added to the center of two flowers and then a golden shadow was added all around the main images using a water brush with some Wild Honey Distress Ink. A hole was punched near the top of the tag then twine and a Word Token was added.

Happy Crafting,
S@ndy
emailsig

Thursday, December 3, 2015

Vintage Christmas

Hi everyone and Happy Holidays.  Today is the start of a new challenge at A Vintage Journey and we are celebrating the season with Vintage Christmas.
 
In October I was lucky enough to be able to take a class with Tammy Tutterow at one of our local stores and it was a blast.  She is a wonderful teacher, sharing her tips and tricks, and a lovely person as well.  We used the Tim Holtz Folio and decorated it with so much vintage goodness.  Here is the result of the class, hope you enjoy.

 
As you can see the front is packed with lots of Tim's vintage pieces and has many layers.
 

When the folio is first opened there are two tag books that are separate pieces.

 
When the tag books are removed, there are three more layers to explore - all with places to add a photo or a special gift tag.

 
Each layer folds forward to reveal the one behind.


This was great fun to make and the class was at night so had to stay up past my bedtime but it was worth it.
 
Don't forget to pop over the A Vintage Journey to see what the rest of the team has made. 
You can do that by clicking here.
 
Have a wonderful and creative weekend,

Wednesday, June 18, 2014

June Tag

Hi All,

Just a quick post today to get in on the challenge over at Tim's blog.  This month we used a water color technique that was fun and fast.  It is a watercolor blending background where we put the Distress Ink on the back of a stencil, spritzed it with water and then put it on watercolor paper.  You can see Tim's tag and his tutorial here.  He used the star stencil but I wanted to go my own way, as usual, and went with hearts.

 
After the background was dry, I used some stamps from Tim's collections, stamped in black and embossed with clear.  I stamped the heart twice, cut them out and put the arrow in the center of the top heart.  I colored some Crinkle Ribbon as Tim did, added it to the top and I was good to go.
 
Have a wonderful and creative day,

Friday, November 23, 2012

November Tim Tag

Hey Everyone -

Well, this month I actually managed to get my tag completed.  A couple weeks ago I was the lucky winner of a challenge over at Simon Says Stamp and Show so I used my gift certificate to buy some new "Tim" stuff.  The package arrived on Wednesday and today I got to play.  One of the items I chose was the Textured Leaves Embossing Folders that go with the Tattered Leaves Die that I already had.  Here is what I did, hope you like it.

Yes, the lettering is a little backwards but that's how it fit so that's how it is!  It is art after all.

This month Tim used Versa Mark and clear embossing powder to stamp with. I decided to make my own stamps using Fun Foam and my Tattered Leaves Die.  I had sticky back Fun Foam and sticky back EZ Mount Stamp N' Stor so I put the two sticky sides together and then ran it through my Big Shot Pro and ended up with a foam stamp. 

They look different because I had to use two different colors foam but they are the same.

I next colored my tag with wild honey Distress Ink and then stamped the leaves on using Versa Mark and Ranger Clear Embossing powder & being very careful to get the stamps where they will still fit in the embossing folder.  Then heat set.


I then put the tag in the embossing folder lining up the stamped image with the image on the folder.  When I ran the folder through the machine I only covered the part of the folder that I wanted embossed.  It took me a couple tries before I got the desired results but was happy with it.


I added more color to the tag using Distress Ink, ripe persimmon and forest moss.
The finishing touches were added, I cut and embossed more leaves to go on top and inked them with ripe persimmon.  Adding some ribbon to the top and then a pin and tag that says "play" which is just what I did.  The lettering is some plastic ones from my stash.