Tuesday, December 27, 2022

Slimline Holiday Photo Album

 Hello Crafty Friends,

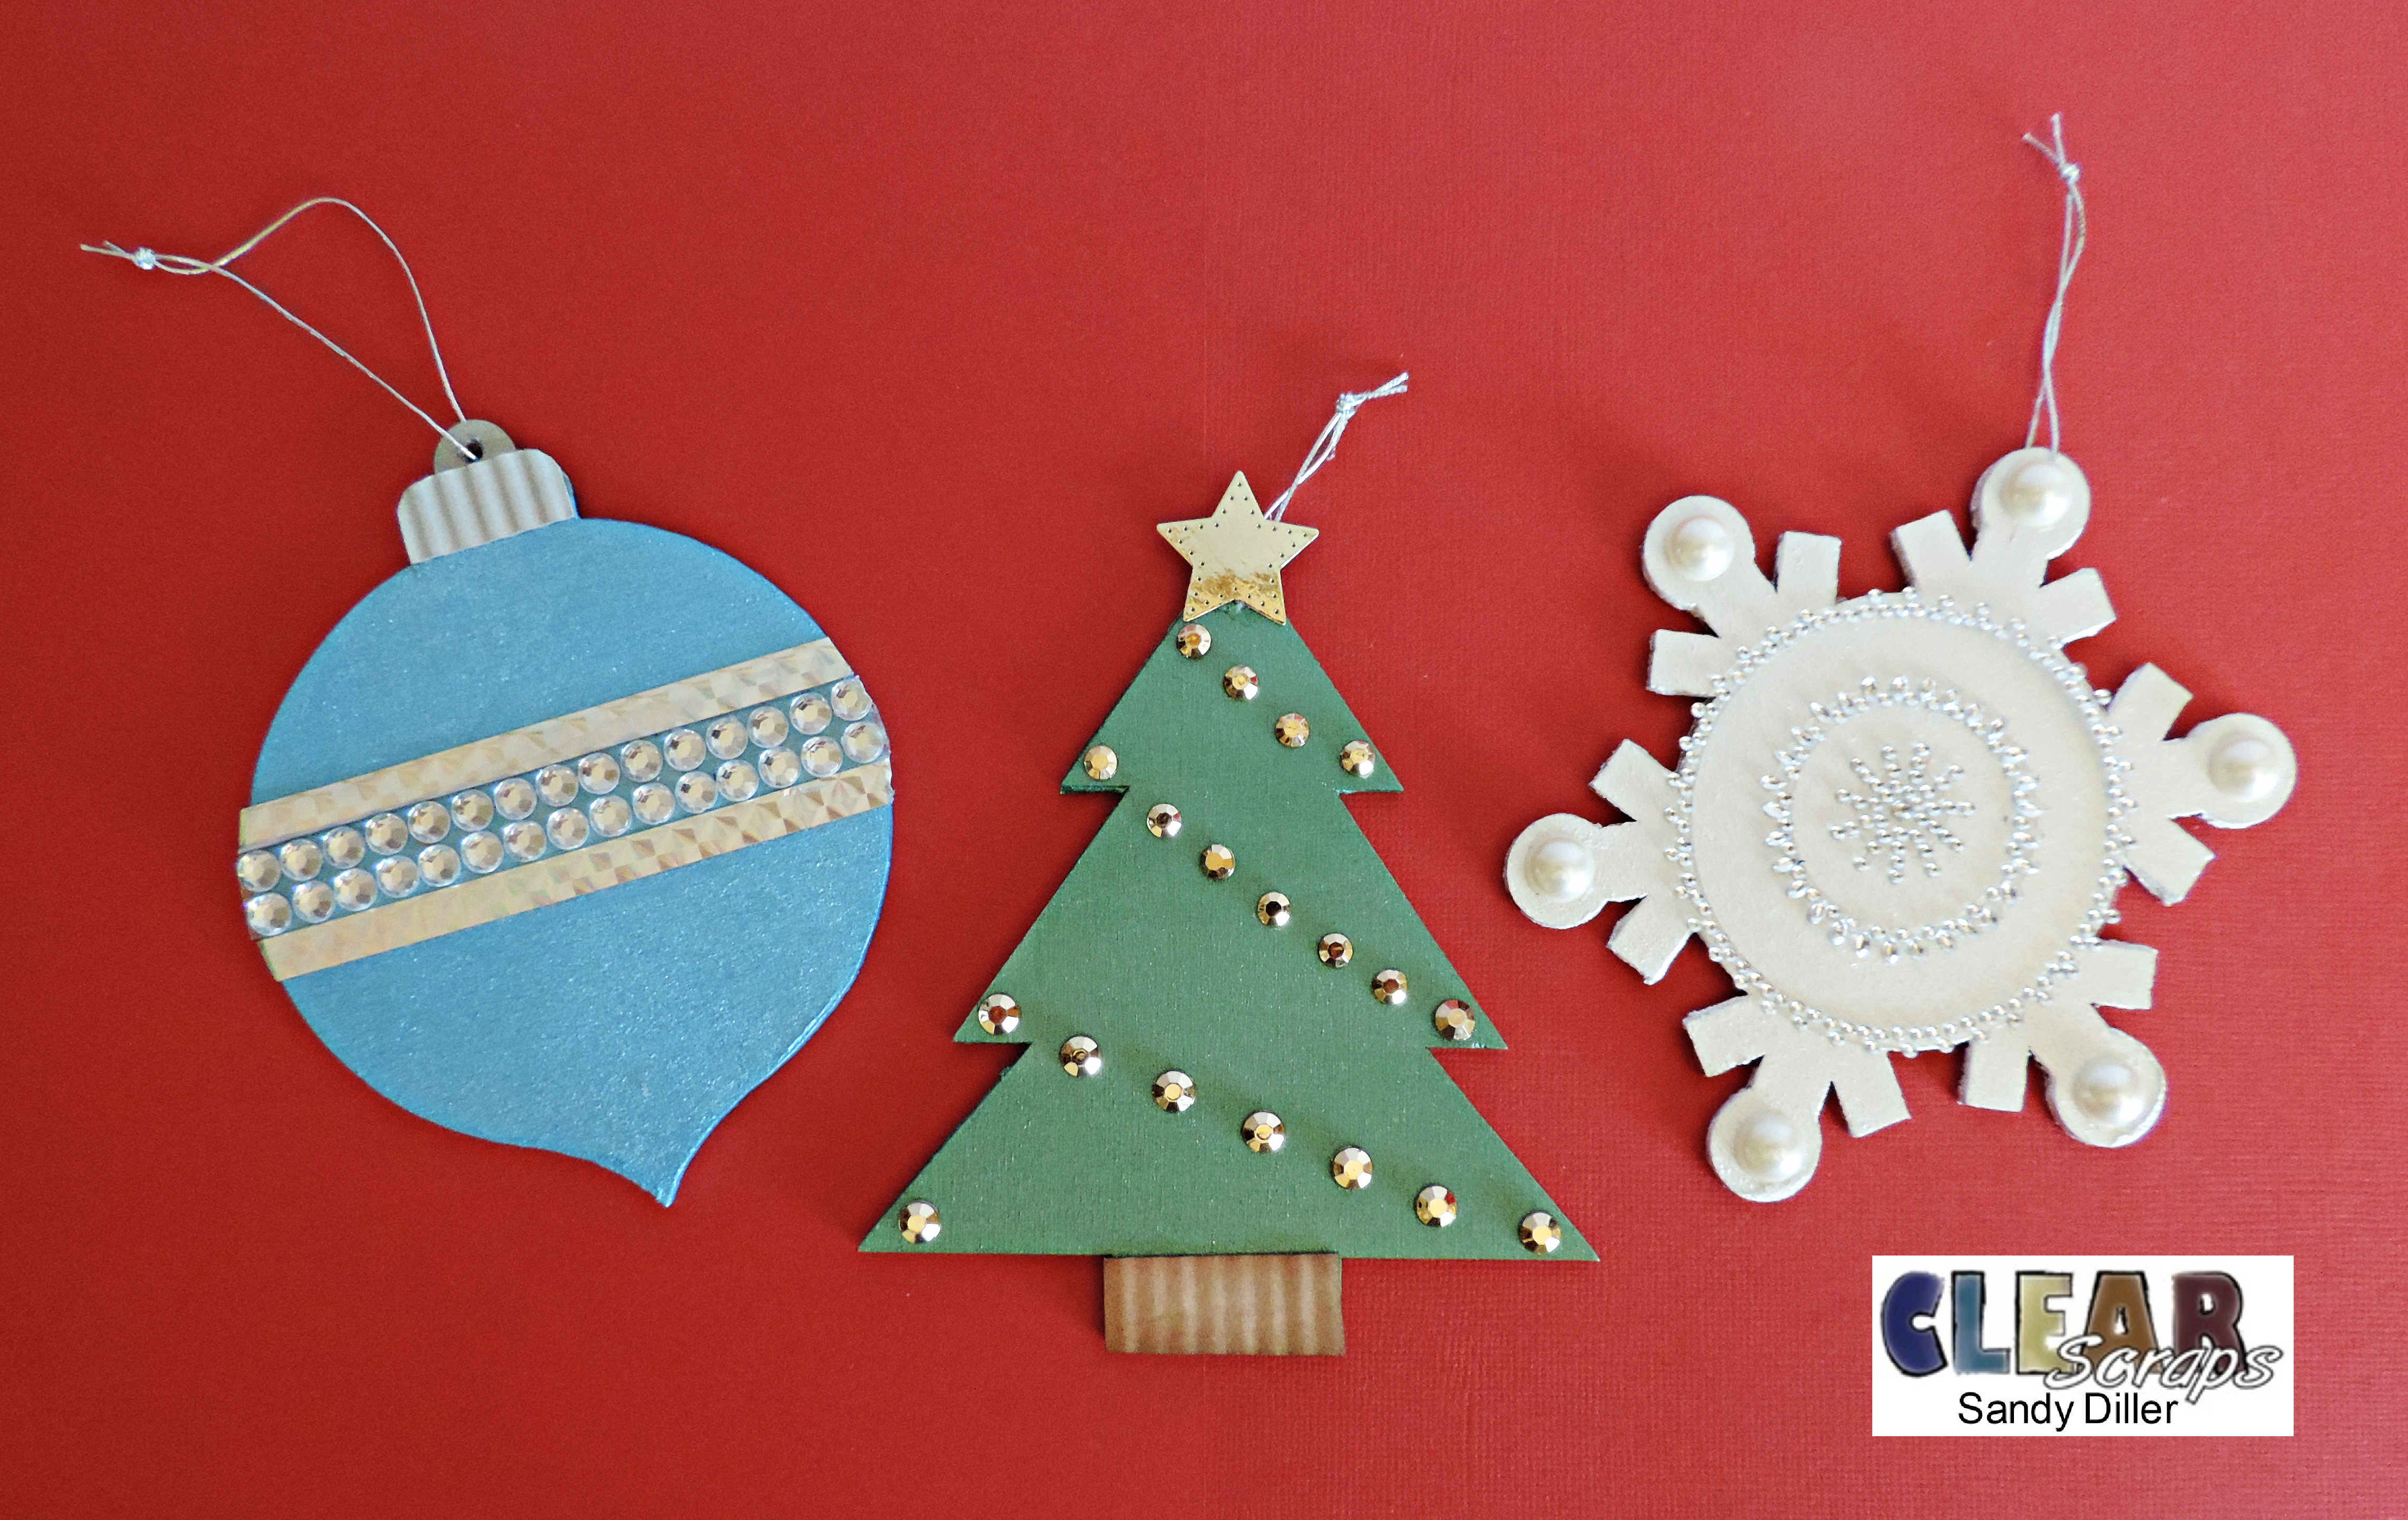
I'm here today to share a Slimline Holiday Album that I created ahead of time so I would be ready to add those photos as soon as I got them printed.  I made this album weeks ago but if you are not a plan ahead kinda person you can easily create one now.  I used the Chip Regular Slimline Album from Clear Scraps and decorated the front with the tree from the Wood Holiday Collection.


I covered all the pages with holiday papers and then added some frames for the photos.

I decorated each page using dies from my Eliabeth Craft Designs collection.


Thank you for stopping by,

Sandy

Saturday, December 24, 2022

Merry Christmas Sports Fans

 Wishing all my friends and followers the best Holiday Season and a very Happy New Year.


I made this card for my grandson who is a big 49ers fan.

See you soon,
S@ndy

Wednesday, December 21, 2022

A Little Christmas JOY

 Hello friends,

Just stopping by to share a card I made for a special friend.  It is packed with all kinds of fun Christmas images that make me smile.   


I recently got a wreath builder so thought I would give it a try using some gnomes and I am so happy with the way it turned out. Of course, there was some masking to be done. I used the HO from the Howdy die.


Thanks for stopping by,

S@ndy

Sunday, December 18, 2022

Happy Hanukkah

 Hello friends, each year I make one special Hanukkah card for our friends who celebrate the Festival of Light.  This year I made a card using the new Wide Woven Basket Box Card from Karen Burniston.


I simply decorated the basket with some Hanukkah sticker that I have had in my stash for a while. 

May your home be filled with light and love,
S@ndy

Saturday, December 17, 2022

Holiday Memories

 Howdy crafty friends, if you are looking for a fast and easy way to save a favorite memory then this is for you.  I began by painting the Base with Scallop Frame from Clear Scraps and then added some lovely poinsettia flowers.


I created my own Poinsettias from a die using cardstock and ink but if this is not something you have, it can easily be made by using silk flowers.

Simply paint and decorate for a lasting memory or give as a gift.

Thanks for stopping by,

Sandy


Monday, December 12, 2022

Karen Burniston December 2022 Release and Blog Hop

 Hello crafty friends and welcome, the big day is finally here.  A new release, a blog hop, a chance to win prizes and time to order from the website.  It just doesn't get any better.  For my make today I have used the new Wide Woven Basket Box Card, the new Bam Box Pop Up along with the Tiny House, the Holiday Charms and much more.  I have listed all the products I used below.


  • 1217 - Bookworm
  • 1218 -Wedding Charms
  • 1219 - Sports Charms
  • 1220 - Church and School Tiny House Add-Ons
  • 1221 - Dog House Tiny House Add-Ons
  • 1222 - Bam Box Pop-up
  • 1223 - Wide Woven Basket Box Card
  • 1224 - Banners - Crosshatch
  • 1225 - Hexagons - Crosshatch
  • 1226 - Surprise Cube Pop-up
  • 1227 - Slider Box Pop-up
GIVEAWAY:
To celebrate the release Karen Burniston and each of the Karen Burniston - KB Riley LLC Design Team members will be giving away a $25 Gift Certificate to some lucky person who comments on our blog posts, so make sure you join the hop and comment on everyone's blog post. Winners will be randomly chosen from ALL of the blog hop comments received on our blog posts by Monday, 19th December 2022. Lots of chances to win some goodies, so just leave a comment on this post or any other blog hop posts to enter! Don't forget to leave some way for us to contact you, in case you are a lucky winner!

Now it's time to start Hopping:

Saturday, December 10, 2022

Changeable Picture Frame

Hello crafty friends, I'm here today with a fun little project that will bring a smile to your face each time you look at it.  I used the clear 8" X 8" Bookstand from Clear Scraps to create this flexible and changeable photo frame.


As you can see here it is easy to make it into any type of you like simply by making a switch in the photos and the letters.

I began by cutting out two cardstock frames that are the same and then glued them together at the edges making sure to leave enough space to slide a photo in.


I used a thin magnetic stripe on the back of the frame (shown by the arrow).  This magnetic material can be cut easily with scissors.  Then a matching piece of magnetic material was glued to the acrylic. 


For the letters I used a coordinating cardstock and cut squares. This will vary according to the size letters you use.  Then magnetic material was cut in slightly smaller squares and adhered to the back.


As part of the design a thin magnetic stripe was added to hold the letters.

As shown here, you can make any color or design you want with just a few changes.


Thanks for stopping by,

Sandy

Friday, December 9, 2022

Another Sneak Peek

 I have another card for the Sneak Peek Week.  This card makes me giggle each time I see it.  I used the new Bam Box, the new Crosshatch Hexagon and the new Tiny House Add On - Dog House. 

This one was fun to make, I hope you enjoy it.


Thanks for stopping by,

S@ndy

Tuesday, December 6, 2022

Designer Challenge - December 2022

 Hello Friends, it's time for the Karen Burniston Designer Challenge and this time Karen challenged the team to use the Fireplace Pop Up die in a different way.  I chose "School" and went - Old School - depicting a one room schoolhouse where the student desks are connected.  I had a great time using some of the new release dies including the Bookworm Charms and the new BAM Box.


I used the Fireplace Die to make the Teacher Desk and then decorated it with charms from the new Bookworm Charms.  For the Students Desks I used the top hat from the Snowman Add Ons and then the seat was made using the new Bam Box.  You can see details of how to assemble in the video.  My suggestion for the back is to make it double sided for extra strength. 

                                                     Here is the video of the closure that I promised:


See you soon,

S@ndy

Monday, December 5, 2022

Celebrate - Sneak Peek

 It's the first of the Sneak Peeks and today Karen Burniston along with the Design Team are sharing creations made with the new release.  There are 11 new die sets included in this release and I'm sure you will be as excited as we are.

I had trouble waiting to share this fun design with you, the possibilities are endless. Be sure to keep an eye on December 12th when there will be a giveaway & blog hop and you will be able to order the new dies.  Tomorrow is the Designer Challenge where you will be seeing more from this new collection. 

So here we go -

I used the new Slider Box with the Surprise Cube Pop Up.


               To see more Sneak Peeks go to the Karen Burniston Pop Up Peeps on FB

                                                          See you tomorrow,
                                                                  S@ndy


  • 1217 - Bookworm
  • 1218 -Wedding Charms
  • 1219 - Sports Charms
  • 1220 - Church and School Tiny House Add-Ons
  • 1221 - Dog House Tiny House Add-Ons
  • 1222 - Bam Box Pop-up
  • 1223 - Wide Woven Basket Box Card
  • 1224 - Banners - Crosshatch
  • 1225 - Hexagons - Crosshatch
  • 1226 - Surprise Cube Pop-up
  • 1227 - Slider Box Pop-up

Tuesday, November 29, 2022

Holiday Ornaments

 Hi friends,

The holiday season is officially here and I have some fun little ornaments to share with you.  I made these cute little tree and gingerbread ornaments using the Winter Charms and the Holiday Charms from Karen Burniston along with some shaker domes.  The larger snowflakes are from Elizabeth Craft Designs.  I cut a hole in the center of the snowflake and then added the dome.  They are double sided so great for the tree.


Saturday, November 26, 2022

Gift Wrapping Time

 Hello, 

It's time to shop and wrap up those gifts to place under the tree.  I like to make double duty items for the holidays.  This trio of gift tags can be attached to your packages and then placed on the tree as an ornament.  I like to add a personal note and the year on the back of mine.

I created this fun trio by starting with the Wood Holiday Collection from Clear Scraps. I painted them and then added some fun embellishments from my stash of gems and rhinestones. 

Let the gift wrapping begin,

Sandy

Wednesday, November 23, 2022

Happy Birthday Wishes

 Hello Crafty Friends,

Today I am sharing a card made for a friend's birthday which is actually tomorrow.  I think it would be a bummer to have your birthday on a holiday, but it seems that happens to her most years.  Anyway, I hope it is happy!! 


All the dies I used on this card are from Karen Burniston and they are listed below.

Happy Turkey Day,

S@ndy

Sunday, November 20, 2022

Ho Ho Ho

 Hello friends,

I just finished a fun little card that I thought you may enjoy.  This Rockin Rectangle Pop Up from Karen Burniston is so generic it can used in many ways.  


On the front I have Edgar enjoying some wine while he is celebrating the holiday season.  I used the Howdy die to make the Ho Ho Ho.
 

Inside I have added one of the sentiments that captures the holiday season.  Cheers!!

Thanks for stopping by,
S@ndy

Friday, November 18, 2022

Christmas Card Display

 It's almost here!  Christmas Card Season.  I love to receive and display the lovely cards we get from friends and family and I have a fun way to do it with this festive display board.  

I began this project using the Bulb Medium DIY Pallet Shape.
I painted the Pallet Shape a festive green and then added some gems and some metallic paper strips.  Actually, the paper strips are car detailing that I found at the auto supply shop.  It is self adhesive as well.


 Next came some tiny clothespins from my stash.  I simply glued the clothespins on leaving room for all the cards to be seen.


To finish off the ornament I painted the top silver and then added some silver crimped paper.
After a hole was drilled in the top I added some ribbon to hang it.

Thanks for stopping by,

S@ndy