Showing posts with label ModaScrap. Show all posts

Monday, January 8, 2018

Yay!! A New Release from Elizabeth Craft Designs

Hi friends,

I would like to invite you to take a look at what's new at Elizabeth Craft Designs.  The design team is showing new dies from ModaScrap just released TODAY!

I made a cute tag for my Valentine's Day gift for Mac.  I used the Love, Life Tag #1500.


This tag is lots of fun because you can make a spot for a hidden message. 

 I cut two of the longer tag and layered them but that is your choice.  I cut the shorter one from White Soft Finish Cardstock and them cut the design in it with the included die from the set.  I set the hearts aside to use later. I then cut one white circle and one red circle also included in the set.

Next I cut the Tree & Hearts out again using red so I would have hearts in both colors. 

The white circle was added to the larger red tag and some hearts were added.  This is a great place to write your special message.  The red circle was added to the back of the smaller tag. 

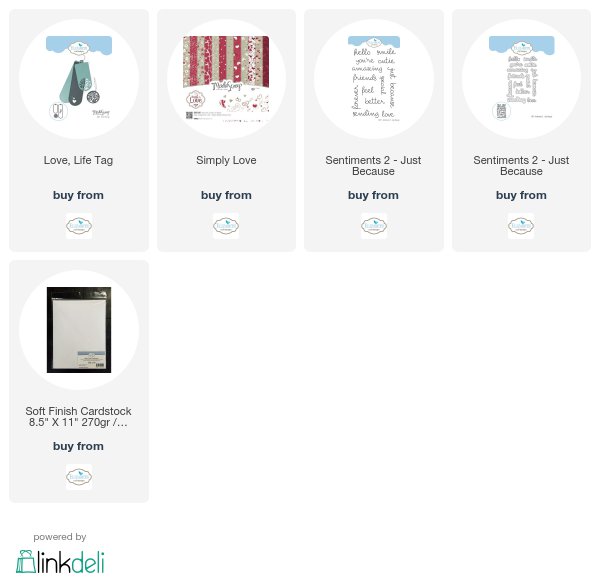
I added the words Hello & Love using the Sentiments 2, Just Because - Stamp and Die Sets.
A twine bow was the final step.

My Valentine doesn't eat many sweets so I decided to write my message in the tag and add it to a nice bottle of red wine.
For the last step I took two of the strings from the twine bow and tied them around the bottle. 

Have a crafty week,
S@ndy


Friday, December 29, 2017

Warm Memories

Hi friends,

Today I have a card to share over at the Elizabeth Craft Designs Blog.  My card is about warm winter mittens and winter days playing outside in the snow.  I was inspired by my Vintage Journey teammate, Anne Redfern.  She did a post where she was talking about some fond memories of her and her brother ice skating.

To see all the details of my card, simply click here.


Hope to see you there,
Sandy


Friday, August 11, 2017

King of the Road

Hi friends,-

I invite you to join me for a tutorial over at Elizabeth Craft Designs Blog where I will show each piece of the banner shown here and tell you how I made it.  See you there.


Ok, get that old Roger Miller song "King of the Road"  going in your head - - -
here are my new lyrics.
If you have ever been an RVer you will understand completely.

RV for sale or rent
No need for sleepin' in a tent
No phone, no pool, no pets
I aint got no internet.
It's an 8 X 12 with rooms that slide
Chairs that fold - so we can sit outside.
I'm a queen - by no means
He's the  -  King of the Road.

Happy Travels,
S@ndy

 -


Tuesday, June 6, 2017

Anything but a card at Elizabeth Craft Designs

This time around the challenge at Elizabeth Craft Designs is "Anything But A Card" so I naturally thought of a tag.  I had so much fun making the first one that I decided to make two.


For today's challenge Elizabeth Craft Designs are giving away .... two sizes of the Clear Double Sided Adhesive which will include: a pack of the 5” x 12” sheets and a 10 mm roll of tape, in addition we will also give away a pack of the new ModaScrap 12” x 12” Viaggi Vintage Patterned Paper Pack to 3 winners. 

Wednesday, May 31, 2017

Hugs

A quick pop in today to share a card I made for my friend's birthday. 


 This one came together so quickly thanks to a great stamp and die set from Elizabeth Craft Designs.  I used Flower Power Clear Stamps and Flower Power Die set along with the
Leafy Branch 4Hugs is from the Love Sentiments.
 
After creating my background with the new Oxide Inks from Ranger, I added it to a white panel and embossed both using the ECD Swirly Curves Embossing Folder.  I liked the way it looked so it was a keeper.
 
I stamped and colored 2 flowers using Copic Markers.  I cut one flower using the die and the other flower was fussy cut and then the peddles were separated and glued on individually. A brad was placed in the center and then covered with small yellow beads.
 
Hope you are having a great week,


Tuesday, April 4, 2017

Glittery Background for Elizabeth Craft Designs Designers Challenge

Hi Friends,

It's the first Tuesday of the month and that means it's Designers Challenge day at Elizabeth Craft Designs.  This month we are challenged to make something with a glittery background and I decided to make an invitation for a special event.  The inside is still blank so the details can be added when they return from the printer. 

Continue reading to find out about a great giveaway from Elizabeth Craft Designs
 
 
Elizabeth Craft Designs have another designer challenge giveaway for you. We are giving away "3 x 1/2 oz containers of Silk Microfine Glitter in the colors of your choice"  to 3 winners. 
 
To enter simply leave a comment on the Elizabeth Craft Designs Challenge post and tell us "What is your favorite technique using Silk Microfine Glitter”
 
We will select 3 lucky winners in a random drawing 

The winners will be announced on Friday, April 7 on the Elizabeth Craft Designs blog.

*************
 
A few tips on how I made my project if you want to make one -
 

The finished size is 5.5" square.  I wanted to put a glittery backing behind the Gatefold - Elegant Rose die so cut a circle that is 5.5" in diameter.  The card base was cut 5.5" square and then 2 additional pieces were cut 5.5" X 3".  Crease the side panels at 1/2".


The circle was covered with ECD Double Sided Adhesive and cut in half.  Adhesive was added to side panels but not on the 1/2' side tabs.


After removing the adhesive, ECD Microfine Glitter, Copper Rose, was added to the circle and polished.
Using the Gatefold - Elegant Rose die, cut the smaller panels lining up the die with the crease.
 
 
Peel adhesive from die cut and add to glittered panel.
 
 
Assemble card. Add one panel to back of card using the Postage Stamp Squares.  Make a hole on either side of gatefold.  String ribbon through holes and tie closed.
 
Have a great week and make something glittery,