Tuesday, March 4, 2014

No Bunny Like You

Hi

I've been having lots of fun lately making cards and have an Eater Card to share today.  I love milk chocolate best but sometimes you just want some dark chocolate. Since it's getting close to Easter I thought a dark chocolate bunny would be in order.


I had the perfect paper from DCWV Glitter Stack with great spring colors that I used for this card.  I used the Agatha Edge Die from Karen Burniston's Pop It Ups line on the bottom edge of the front.  I cut the edge of the card and then another edge from white. 


For the inside of this card I used the Lots Of Pops Die,  the grass is from the Garden Bench Die.  I stamped and fussy cut the basket then added some flowers that I cut from the glitter stack.  The butterflies are from the Butterfly Pivot Card Die.  The bunnies are Movers and Shapers from the Tim Holtz line and cut from Chocolate Chip and Close to CoCo papers from Stampin Up.  I used some small brads for the eyes and then colored them with a yellow Sharpie.  After printing out the "There's No Bunny Like You" on the computer I simply cut it out using the Deco Labels Framelits from Stampin Up, the same set I used for the front of the card. A little purple ribbon and it is good to go.

Hope you have enjoyed this card and are inspired to make one for yourself - it makes me giggle.

I hope you will come back on Monday March 10th to see what I have created as Guest Designer for Karen Burniston's monthly challenge.  We are celebrating SPRING.

Happy Crafting,
S@ndy

Friday, February 21, 2014

Love is Deep

Hi my blogger fiends,
 
I wasn't planning a post for today but since I've been working on some cards I thought I would share them with you quickly before I run to the post office with them.  My friend, Maria, over at 
"It's Cheaper Than Therapy" asked me to make some samples for her using some of  the newer dies.  I was thrilled to see that she now carries Karen Burniston's new line of Pop It Ups from Elizabeth Craft Designs. I'm really glad she asked because it made me get busy and here are a few that I came up with. 
 

LOVE IS DEEP
I hate fussy cutting but I did it for the gold fish on this one.  I used the Accordion Circle Card Die here.  Paper is Stampin Up - Maria Mist, Bashful  Blue and Cajan Craze.  The fishy stamp set is from "Close To My Heart".


FOUR SEASONS
I used the Accordion Oval Card Die for this one along with the All Season Tree Die.  I'm very happy with the results.  All paper is from Stampin Up


HEART PIVOT 
This is such a fast and simple card to make.  I used the traditional Valentine colors here with the Heart Pivot Card Die.  All Stampin Up colors.   I used the Agatha Edge Die on the front and for the trim piece I cut the edge twice about 3/8" apart.
 
Have a great day & make a card!


Thursday, February 13, 2014

Girly Gift Card

Hi Everyone,

Today I am going to deviate from my usual style and go "Girly ".   I've been having fun with my new Karen Burniston Dies from Eliazbeth Craft Designs.  I needed a gift card for someone special so I went with a purse design and used the Lots Of Pops Die. 


As you can see, it looks like a little purse on the outside.  I used my electronic cutter for the purse shape and then embossed the front portion only.  Added a pearl brad and some chain for a handle.

 
On the inside I wanted it to look like a boutique shop and that's where the Lots Of Pops Die comes in.  Below is a close up of the bottom section.  It is a little bulky when closed but what girl doesn't stuff as much in her purse as possible?


I'm tickled pink (pun intended) with the way it turned out, sometimes a plan just comes together.  I plan to tuck a gift card in behind the dress and then it will be ready to go.

HERE'S HOW I DID IT
 
 
I used Rose Red cardstock from Stampin Up for the body of the purse, then scored and embossed.
 
 
Next I put a piece of wood grain paper and some striped paper together and placed the die on the center line. Then cut it out.
 
 
I folded all the creased according to the instructions.
 
 
Then it looked like this.  I then used my tape runner to glue the bottom section only in
the card. 
 
 
Since I wanted the Pop It Up to look like a table, I cut on one fold line so it would leave a space and I glued it down later to look like legs.
 
 
Next I cut a strip of Rose Red Cardstock to place across the top portion of the card.  I glued it down just on the side edges. I used very small glue dots. You will see why in a minute.
 
 
Then I trimmed the strip to match the shape of the card. 
 
 
I then slid the printed paper under the strip.  I DID NOT glue the printed paper down.  Because the card is so bulky the printed paper needs to slide up and down when the card is opened and closed.
The cardstock strip holds it in place and adds strength for the rest of the embellishments.

Now for the fun part.  I got to go on a treasure hunt in my stash for decorations.
I was delighted to find a small frame for the mirror, some small pearls on a string, a hanger, a small gift package and the Barbie Shoes.  I made a shopping bag from a scrap of paper and put some tissue paper in it.  I cut a dress from sparkly paper and added it to the hanger.  After printing out "Shop Til You Drop" on the computer I cut it out using one of the dies from the Lucy Label Pop Up. 


Have a great day and make something fun!


Sunday, February 9, 2014

Heart Pivot Card

Hi Everyone,

A couple days ago the mail man brought my order from Elizabeth Craft Designs with the new dies from Karen Burniston.  Her wafer thin dies are so fun to use and easy to store. I will share some tips  I've found useful later in this post, but first, I want to share a card  I made using the Heart Pivot Card Die.   Just in time for Valentine's Day!!

I'm proud to tell you that I'm a guest designer for Karen Burniston's monthly challenge over at Elizabeth Craft Designs brand new blog.  To see all the great cards for this challenge click here.

I wanted the pivot part of the card to be a surprise so I made my card a tri-fold. When the card is opened the pivot hearts are revealed.


For the card front the hearts from the Pivot Die Set were layered and then the keyhole was added.  I cut the key from some thin copper left from another project.  All of the decorator pieces are included in the set.  On the side I added some solid brown and then used a die from the Agatha Edges.  This paper has glitter on the stripes so the biggest heart was cut using Stampin Up's Cherry Cobbler Paper and covered with embossing powder and then heat set.


For this card I used some paper from my stash.  It's from My Mind's Eye and is from their Christmas Collection but I liked it for Valentine's as well.  I began by cutting a piece 5.5" X 12" and scoring it at
4" and 8".  I lined up the die on the 8" fold and cut it out.   The front section was just a little short to cover the rest of the card but when I added the brown trim piece the overall measurements of the card became a standard A2 card. (4.25 X 5.5")  After adding the stamped phrase from one of my favorite sets by Close To My Heart and a few more die cuts,(the tiny heart is from Karen's Accordion Oval Card Set) and some Vintage Photo Ink edging I was done.

Fun and easy, hope you enjoy
S@ndy

My Tips

I'm a messy and unorganized crafter and find it frustrating when I spend more time looking for my tools than using them.  I'm sure you can relate.

Here are a couple things I have found useful when using and storing very small dies.

I had some magnet sheets for ink jet printers - you can find them at any office supply store.
I also had some small plastic transparent envelopes that are meant for CD storage. 

I cut the magnet sheets to fit inside the envelope and simply put my dies on the sheet and then inside the envelope.  I can see them easily without removing them and they don't get stuck in the corner of the envelope or fall out accidentally. They are thin and easy to file.


For the larger sets I use the same system with a different envelope.

Another thing I found helpful when using small dies is to place a magnet sheet next to my machine and as soon as I remove the die I place it on the magnet sheet.  I had a piece of metal (roof flashing)
from another project and decided to use it next to my machine.  I attached the magnet sheet to the metal and it stands up and is easy to use.


Roof flashing can be found at your local home improvement store and is easy to bend. A small piece like this is only about  $1.


Sunday, February 2, 2014

This is when the cowboy rides away-

Hi bloggers

Today just a quick post to enter the Monday Challenge over at Simon Says Stamp.  This week the challenge is to make something using the theme "This is when the cowboy rides away". Country music fans will recognize the words.

 I live in the Southwest so this theme is right up my alley.  I used one of my favorite stamps by Terry Madaris, I just can't get enough of these cowgirls.  I colored them with Prismacolor Pencils. 
Hope you enjoy.


Have a colorful day-
S@ndy

Tuesday, January 28, 2014

It's Finally Here!!

Hi my blogger friends,

I am very excited to tell you that I've been published!  I have been waiting for months to tell you and the day has finally arrived.  To add to the excitement - one of my projects -my Time Traveler Clock - is shown on the cover.

 
I am proud to say that my work is shown on Pages 3, 16, 35, a two page spread on pages 58 & 59,
and 3 projects on page 90.  I hope you will pick one up at you local book store to see my work as well as all the other fabulous featured artists.
 
Here are links to some of my projects -
 
 
Happy Reading,
S@ndy

Monday, January 6, 2014

Tick Tock

Hi my blogger friends -

HAPPY NEW YEAR!!

Today I want to share my entry with Tim's 12 Tags of 2014.  I always look forward to the first of the month to see what he has created.  This month he used his Pocket Watch Die and so did I.

Here is my version of this months tag.  Hope you like it.


I'm very happy with the outcome - it turned out very much as I envisioned.
 
Here's how I did it.


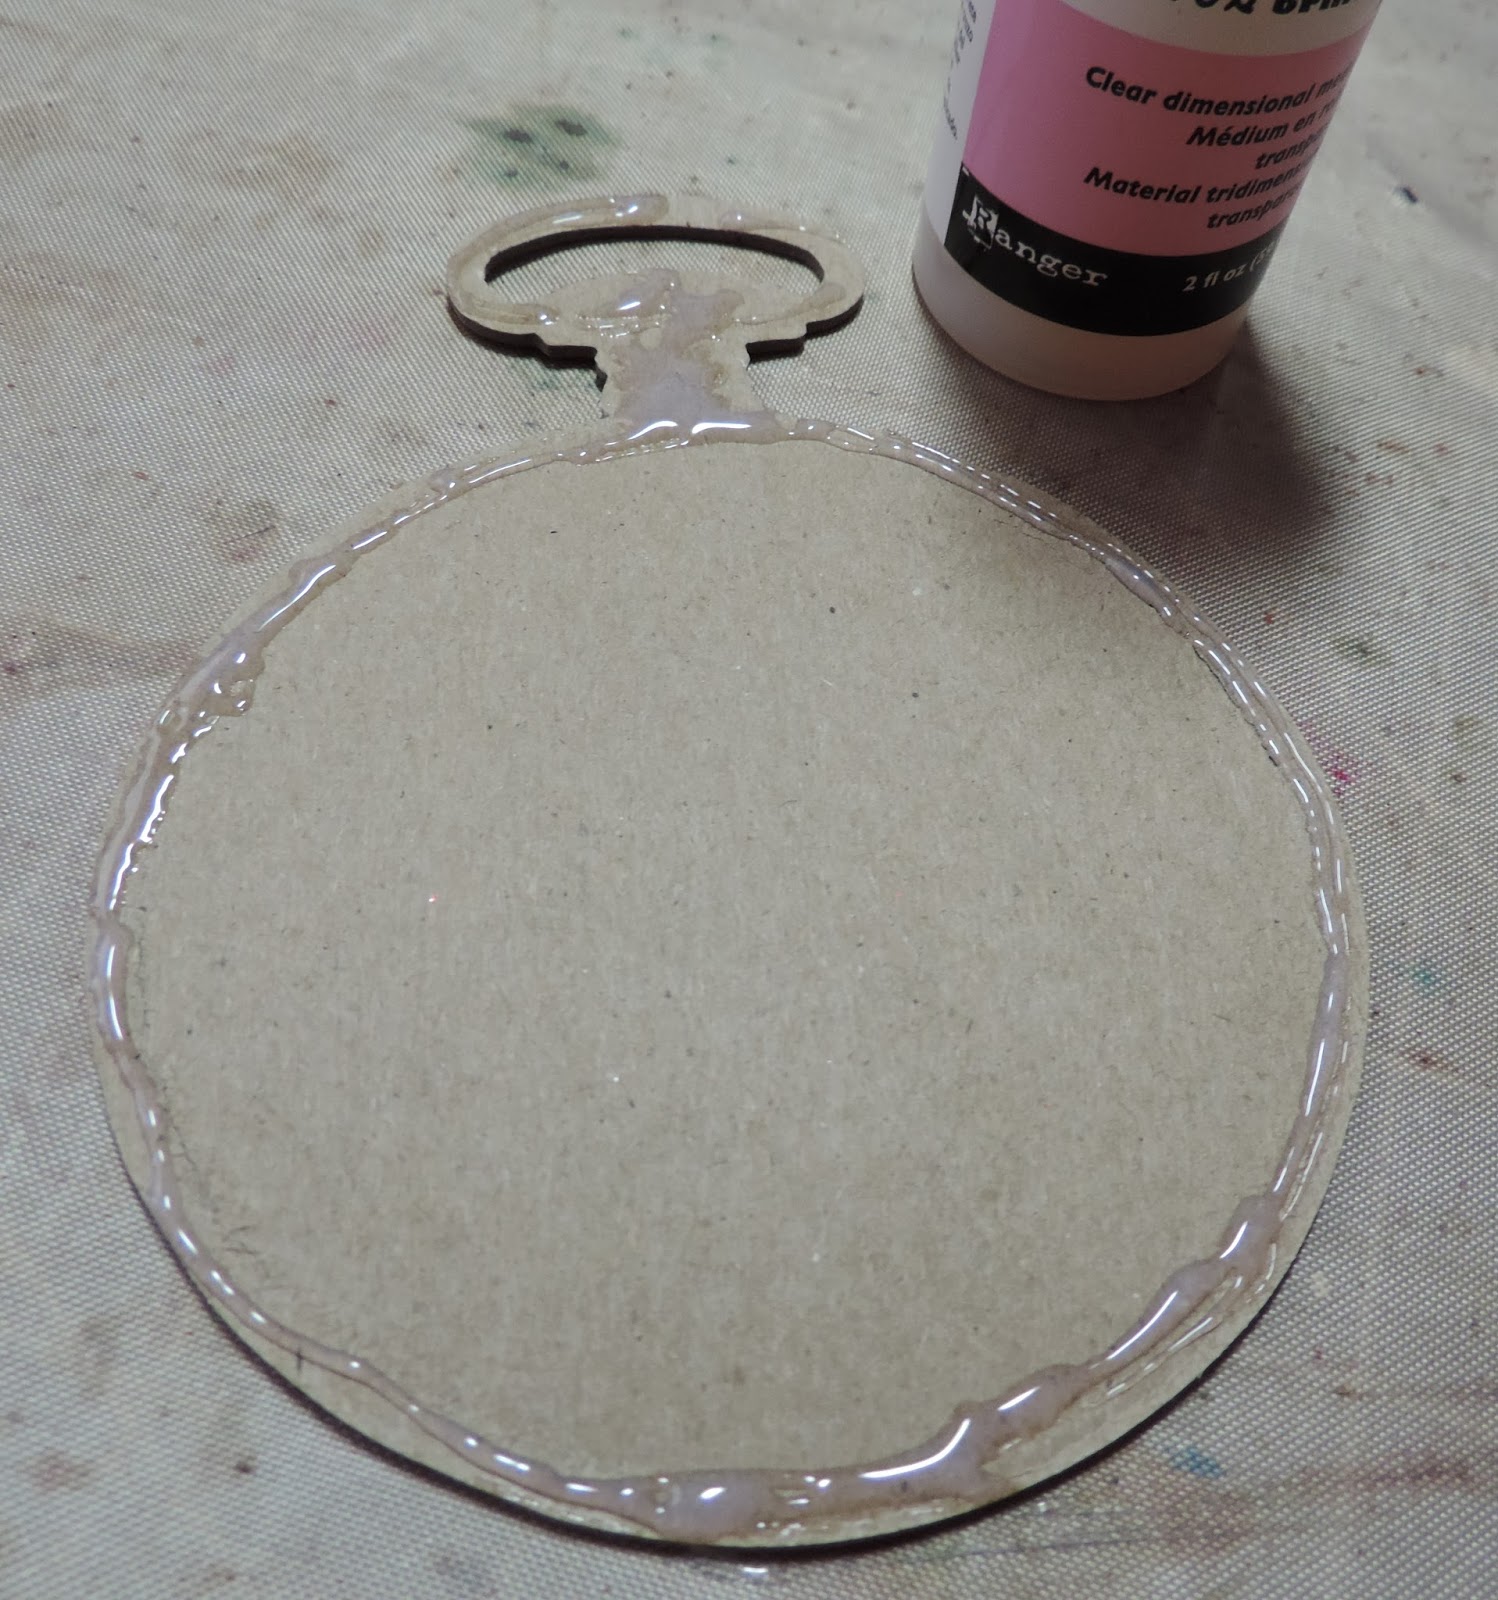
I started by using the Pocket Watch Die to cut out 3 pieces from chipboard.  One was cut using the die without the circle Movers & Shapers and then two more after adding the circle.
 
 
I then layered the three pieces together with the solid piece on the bottom.  I made sure I had a solid line of Glossy Accents all the way around because I plan to use resin and did not want it to seep out.


Next I put some foil tape on a piece of cardstock and smoothed it out some.  I didn't worry about this too much as I planned to emboss it so most of the wrinkles won't show.
 
 
I then cut out the circle using the Movers & Shapers Circle Die and the Base Tray 
 

After embossing the foil piece with the Gears Embossing folder I covered it with Distress Black Soot Paint and then before it dried I wiped some of it off.


For all you perfectionists out there (and you know who you are!) don't worry about the seam down the center, it will be covered up.


When the paint was completely dry I placed the foil in the prepared chipboard die cut


 I mixed Ice Resin according to the directions.

 
I then poured the resin in the piece.  Now for the hardest part, WAITING for 24 hours.
 

 I cut two more layers of chipboard pocket watches, cutting the top off of one.  I then glued them the same as before with plenty of glue to seal the pieces. I set some gears in on top of the resin and then poured more resin over the top.  Then WAITED again.


The final layer was made by cutting 4 circles on my electronic cutter because I wanted them slightly smaller than the previous section to mimic a real pocket watch.  They were glued together and then glued to the watch.  After layering more gears I poured the final layer of resin. As you have certainly guessed by now - I'm not good at waiting but I managed it for another 24 hours.  It was worth it.

 
Now that I have done all the waiting I think I can stand, I got to work on the finishing touches. I was happy with the over all look except for one thing.  I didn't like the way you can see the layers of chipboard and cardstock so to cover them up I turned to modeling paste and it worked.


I spread the modeling paste on with my fingers and then smoothed it out by dipping my finger in water and smoothing it gently.  And finally I used a craft stick to finish it off.  When the paste was dry I sanded it with an emery board.   
 
When I was happy with the results, I covered the modeling paste with liquid embossing ink.  Working in sections - I put silver embossing powder on and hit with the heat gun.
 
 
For the final decorating I used a clock from Prima, the Finnabair Line.  The hanging charms were made with Fragments and Remnant Rubs.  I added a key and I was done.


Got to run now and get this posted on Tim's blog. 

Hope you enjoy,
S@ndy