Hello friends,
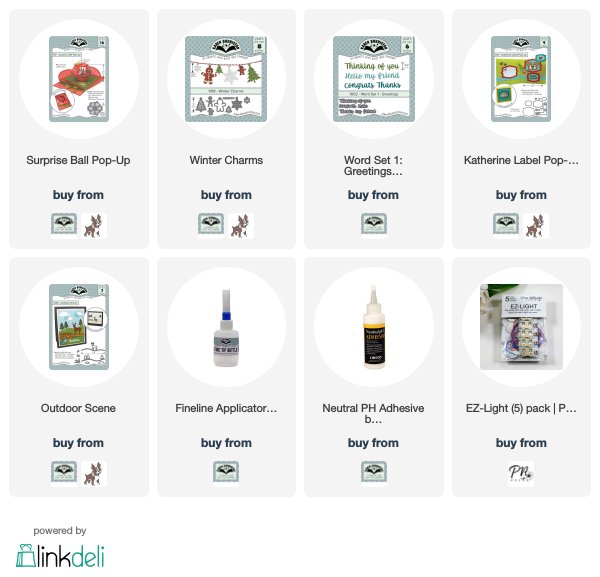
It's time for the December Designer Challenge and this month Karen Burniston has challenged the team to make something in the theme of SURPRISE. I didn't use too much imagination for this one because I took it quite literally and used the fun Surprise Ball Pop Up. I did put my creativity to good use by adding some EZ Lights from Pear Blossom Press which took it to the next level.
Here is a short video that shows this fun technique in action.
For my greeting panel I used the Outdoor Scene and stamped and embossed my greeting.
Using the Surprise Ball Pop Up die set I cut the two large pieces that make the ball from white cardstock. I used some heavy pearlized cardstock for this one because I knew I wanted it to look very wintery (I think that is a word).
Using the Surprise Ball Pop Up die set I cut the two large pieces that make the ball from white cardstock. I used some heavy pearlized cardstock for this one because I knew I wanted it to look very wintery (I think that is a word).
Using the larger snowflake from the Winter Charms die set - I placed it directly in the center, lining up the center holes. After placing it back on the die cut machine, the cutting plate was placed only to the line shown above because the hole in the charm was not needed.
See photo below.
Once the die is cut, there will be a small place that was not cut. It is necessary to cut this little spot by hand.
See photo below.
Use the large snowflake again - cutting a gold charm and then remove the hanger part of the die as shown below. Place the gold snowflake in the opening and glue in place.
Use the small snowflake die from the Winter Charms to cut a snowflake in the rest of the sections as shown below. After cutting all the snowflakes, turn to wrong side and place a piece of vellum over each snowflake.
See photo below.
Once all vellum pieces are in place, use the bottom piece of the ball to add your brad. Before adding the brad, run the EZ Light through the hole from the bottom of the card. The brad will not show later so any brad will work. I like to use larger ones for a more secure hold. Next add the rubber band - I am using very heavy paper so I used a #16 rubber band with two knots. I like to add the band before gluing the side pieces because it is easier to reach inside the ball but this is a personal choice.
After assembling the ball, I cut a hole in the card base to accommodate the battery pack.
As you can see the hole for the battery pack is rather large but, no worries, the gold panel will cover it on the inside and I simply added another white panel on the back of the outside - it covered the hole and was a space to write my message.
If you would like to see Karen's full assembly video on this die Just Click Here.
Don't forget to check out Karen's video tomorrow. She always has a fun new technique to share.
See you soon,
S@ndy


Sandy, your card is awesome! Very clever to cut the snowflakes out of the cardstock and then back them with vellum. Thank you for sharing your technique.
ReplyDelete