Today we are celebrating our first birthday over at A Vintage Journey. Please stop by to see all the fabulous creations from the Creative Guides and to see all the great prizes you could win. It is quite a party happening over there.
The challenge this month, which begins our new format for the blog, is "Anything Tim". We are excited about the changes with a challenge each month and some wonderful tutorials from the team each week to stir your creative imagination. We are still Tim Holtz inspired. Hope you will join us.
I have been working this month on some organization for both my studio and my blog.
For the blog - I've been working on the look and the commenting section in hopes that it will be easier for you to leave comments. I love hearing from you and hope you will make comments, no need to have a blog yourself.
For the studio - I've been working on some organization and making it easier for me to be creative and find my stuff. I'm sharing my first step in that organization today with a storage cabinet to hold my small Tim items and to access them easily. Here is what I made and you could call it (except for the cabinet from KAISERCRAFT)
"Everything Tim".
I have filled the drawer with the item shown on the drawer front which puts everything at my fingertips. It is an attractive container that I can leave sitting out on the work table - so not as much digging around in my stash.
Here's how I did it!
I started with this very cute drawer storage unit from Kaisercraft. It was a little like a jigsaw puzzle when I opened to package but it was very easy to put together. I actually put it together and then took it apart again so I could paint the sides and inside more easily.
After painting, I assembled it again and used some wood glue at the joints.
I next selected the paper from the Wallflower Collection.
After adding all the paper, I sanded all the edges so they were smooth.
Then of course I had to ink all the edges with Distress Ink, Vintage Photo
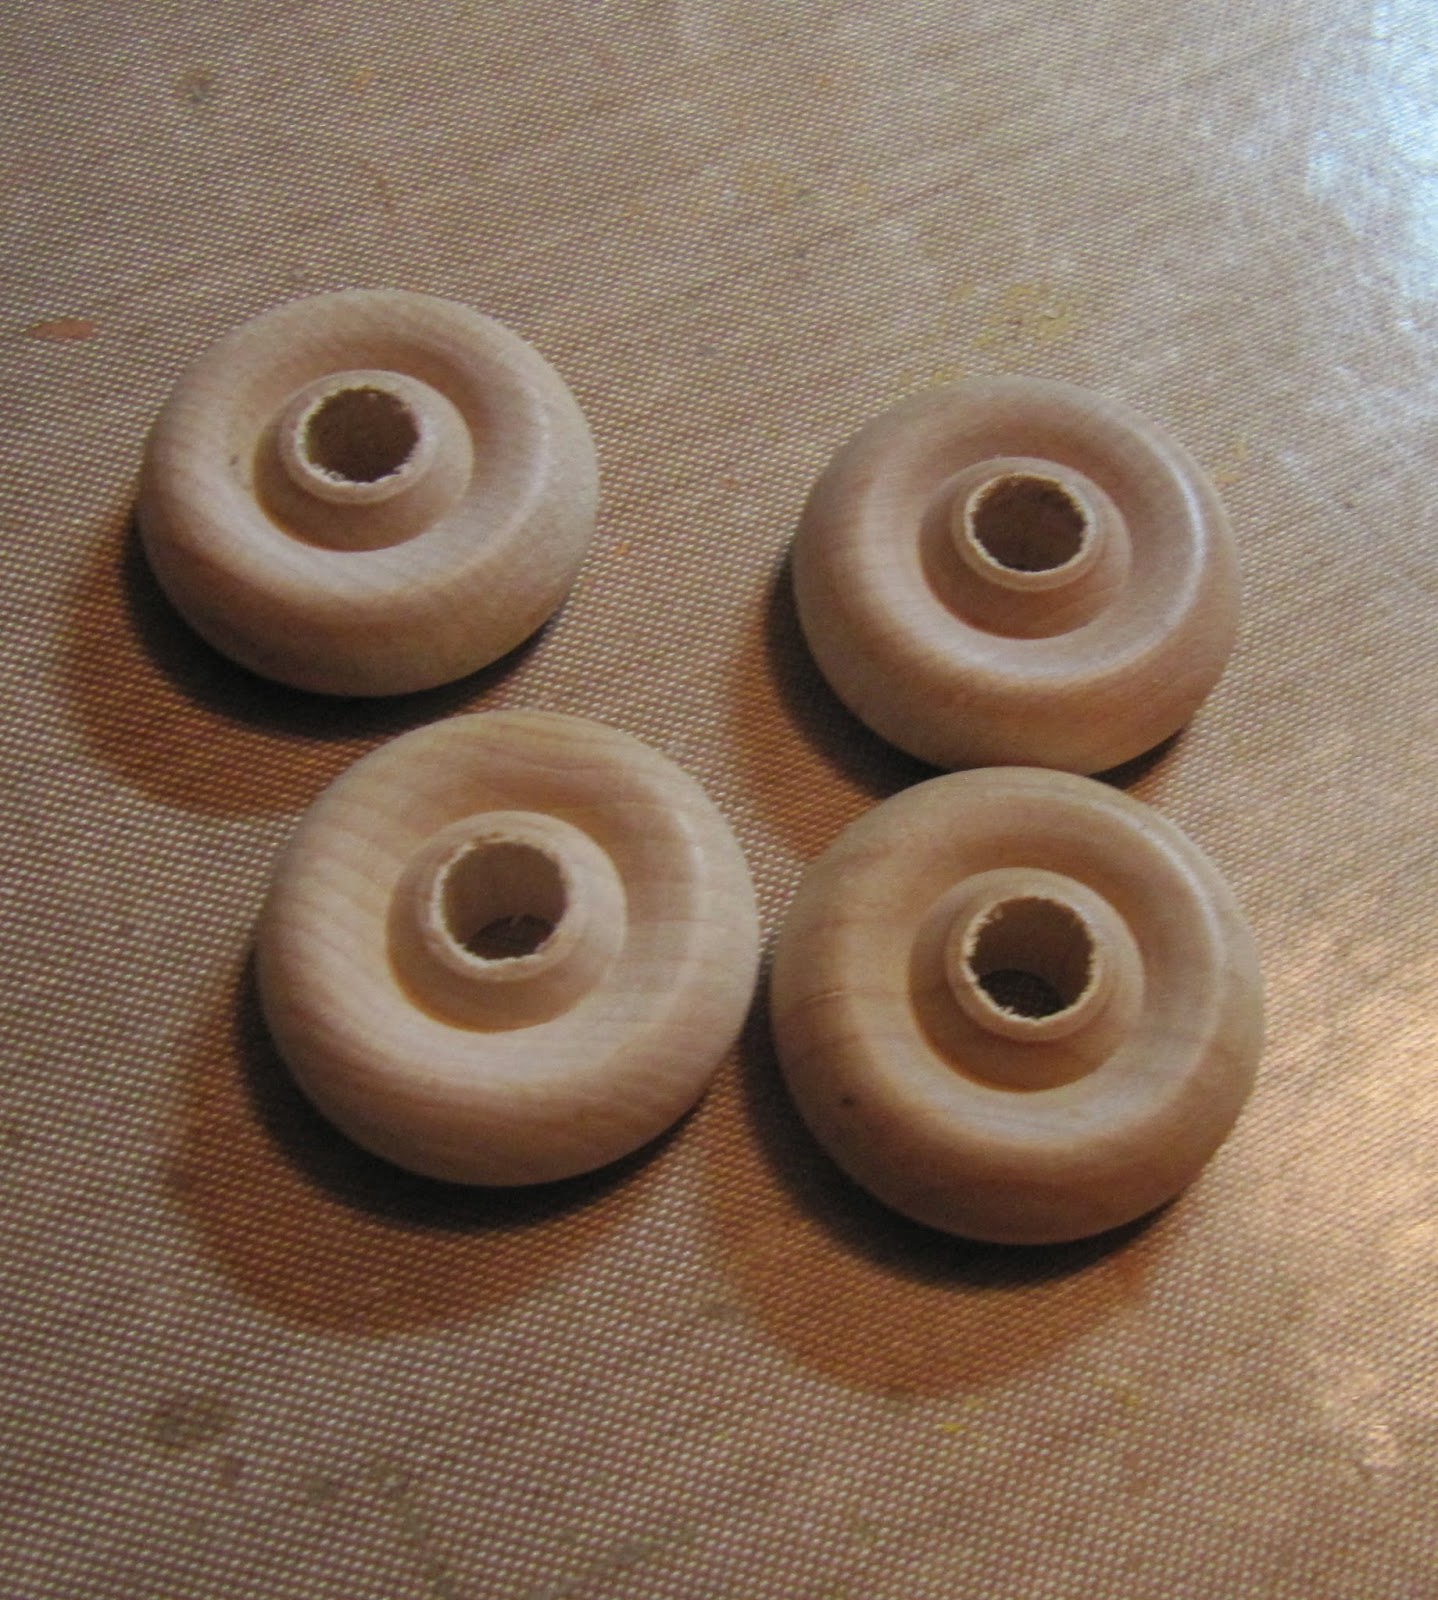
I had these wheels in my stash so used them as legs.
Next came the drawers themselves, as you can see, some assembly required.
I then covered the fronts of each drawer with manila paper that I embossed with three different embossing folders from Tim's collection. Then of course - more ink.
The finishing touches were to added a sample of the items to the drawer front and then fill them up. Done!
This is a cute and useful item that will help me be more productive.
Hope you have enjoyed.
Have a crafty weekend,


No comments:
Post a Comment
I love hearing from you - thanks for commenting.