Sunday, September 11, 2011

It's A Boy

Hi bloggers, today's post is both old and new.  I made another bookadex similar to the one I made for my Dad (shown in an older post) and the recipe holder I made for the Graphic 45 blog in July(also pictured below) but this time I used a baby theme.  This one is for a baby boy and I am working on one for a baby girl.    ENJOY!!

Monday, September 5, 2011

Recycle, Reuse Tin and Mini Album

Another day, another project.  Only a couple more to go and then I will have to look for or make some new stuff to show.  I have a couple ideas cooking.


Since I long ago gave up cooking and my husband has taken over I have found some new uses for things that once contained food. I really liked the shape of this container that once had a meat rub in it and decided that a mini book was in order. I have always liked clocks and use them often in my paper crafting. This one just happen to be the perfect size to fit the Weathered Clock die from Tim Holtz.
For the lid I cut one clock out of Grunge Board and covered it with black embossing powder. I placed a
4.5 “ circle of red cardstock under the clock and then used the Graphic 45 Fashionista paper as the center piece. Since the size of the piece I wanted was on the edge of the paper I had to make some flowers for the side. I made them with vellum, some dye ink, Perfect Pearls and a brad. I added some leaves and pearl embellishments from Recollections around the edges.


For the mini book I decided that 5 pages were just enough. I cut 5 circles out of the Graphic 45 CORE Impressions. I gave them a light sanding and then glued a die cut ( from Grunge Paper and colored black) on each side to give them strength. I decorated each page and put them together with a long bolt, some washers and nuts from the garage. To create a handle and to cover the end of the bolt I got an old wooden knob from my stash, painted it black and added a clock face that was printed and cut with the Wishblade. The pages of the mini book open like a fan and the tags come out for a picture or journaling. One of the things I love about g45 papers is that all the collections can be interchanged. I used some of the clock images from Proper Gentleman with this project.
MATERIALS USED:
Graphic 45 papers: CORE Impressions, Fashionista, Proper Gentleman
Tim Holtz Weathered Clock Die, Grunge Board, Grunge Paper, Word Key, Baubles, Hitch Fastener, Keyhole & Foliage
Recollections - leaves and pearls
Perfect Pearls
Spice container
Bolts, washers and nuts from the garage
 

Sunday, September 4, 2011

Steampunk Clock

Well folks I'm back with another featured project from "my day in the sun" the Graphic 45 blog.  Hope you like this one.


Yes - It is a real clock!

Sometimes there are happy accidents. I was playing around with some die cuts one day and the Weathered Clock Die fell on top of the Vintage Cabinet Die and it looked like a real clock. The pictures tell the story.

Materials Used:
Graphic 45 Steampunk Debutante Paper Line
Tim Holtz: Weathered Clock Die, Vintage Cabinet Die
Black rhinestones from Recollections
Chip board


Friday, September 2, 2011

Magic of Oz Extreme Altered Book

We are home at last.  Although it is HOT, HOT, HOT here is Arizona I am happy to be here.  Our travels were lots of  fun but as they say (whoever "they" are), there is no place like home, which brings me to this post.  I hope you enjoy the Magic of Oz.  Over the next week or so I will be posting some of my projects with instructions that were featured on the Graphic 45 blog in July.   


When I started this project, I had an entirely different end result in mind but as most paper crafters know- some things just take on a life of its own. When I first saw the previews for the “Magic of Oz” I couldn’t wait to get my hands on it. I had my book, a dictionary from GoodWill, all ready to go before the paper ever reached my doorstep. When I first started cutting into the beautiful Graphic 45 paper (which is so hard to do) the vision started changing.
I will share a few pictures of what happened along the Yellow Brick Road. When I started on the book, I simply folded each page in half and tucked it into the center. Since I had lots of pages the book made a circle on its own. I then removed the book covers which made it look like a filter of some kind. I then divided the book into 4 sections and cut the pages down.
This was a very messy process.
  

I originally thought I would use a rod in the center and used an old paper towel holder which worked for holding it secure while working but later decided that was not the look I wanted. After searching around my kitchen for awhile I found this bowl and thought it was just right.


As you can see I just kept cutting and placing my images around the altered book until I was happy (and couldn’t fit any more in). I made the YELLOW BRICK ROAD from some yellow card stock (Stampin Up, Barely Banana). For the brick pattern I used the Tim Holtz Brick embossing folder that I first inked with Distress Ink, Brushed Corduroy and then ran through my Big Kick. After gluing on the road, I poked the images in using the Tim Hold Memo Pins.

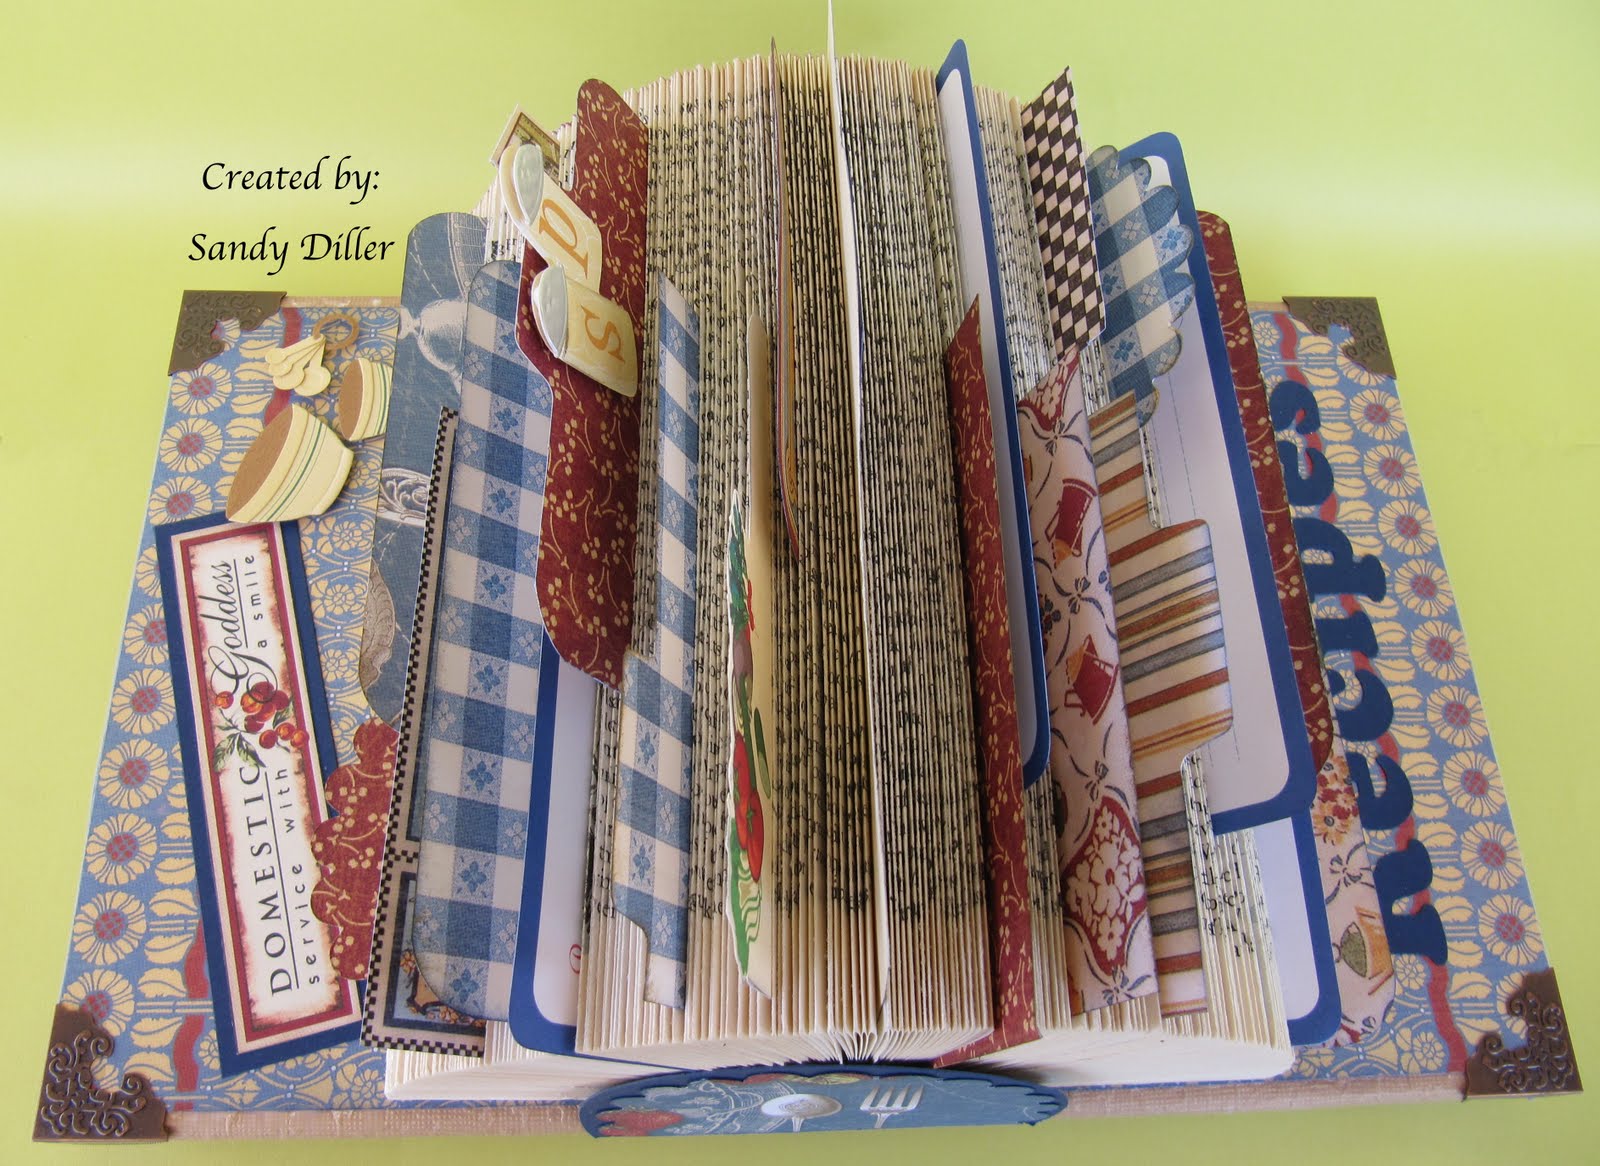
I cut out the cards that were on one sheet of the 12 X 12 paper and placed them around the sides and back of the book. They can be used for pictures or notes and pulled out and replaced at any time. There is almost no limit to how many can be added. A great way to display recent photos or use on your desk to hold notes and memos.


Thursday, June 23, 2011

Fast & Easy

We recently had lunch with our 3 granddaughters and snapped a few pictures.  I wanted to play with some more dies I got awhile ago so decided to put the pics in a little frame made with the Tim Holtz "Vintage Cabinet" and "Mini Vintage Cabinet".  I simply cut 2 Vintage Cabinets out of chipboard and 2 Minis out of
Brilliant Blue cardstock (Stampin Up).   I ran the cardstock through an embossing folder - glued my photos to the chipboard and added the Minis.  I had some trouble with the hinges so decided to make them a feature instead of fighting with it & added some big blue brads.  I added a few embelllishments from my stash and it's done.

Friday, June 10, 2011

Vintage Valise Travel Journal

I just got a bunch of new dies so had to give them a try.  My granddaughter is going on a big trip later this summer so thought it would be fun to make her this travel journal to keep track of her adventures. 

I used the Tim Holtz Vintage Valise Die.  I cut the front, back and binding edge out of book board that I covered with paper before cutting.  The paper has a leather look and I found it at Hobby Lobby but don't know the brand.  For the handles, corners and straps I used a heavy duty paper that I inked and embossed.  The ring binders are from Tim of course.  I added the little buckles with some Velcro to keep it closed.  The pages are cut from a stack of notebook paper that measure 3.25" X 5".  The cover page is simply a piece of folder paper and stamped with two of Tim's stamps. The very last thing added is a chain and Journey Key.


Saturday, May 21, 2011

Packaging Challenge

Over at the Inspiration Emporium they are having a packaging challenge that I thought would be a good one for me to enter since I used  Grunge Board packaging to make this Le Cirque box using Graphic 45 paper.

The box is from Maya Road, I removed the hardware (I'll use it at another time) and a plastic window from the top. I added different hardware and covered the box with paper.  I cut a piece of Grunge Board packaging to fit the window opening.  I then covered the packaging with black cardstock and glued it to the inside of the lid.  This gave the lid a 3D effect.


Hopefully the last pic will not be too blurry as it is a close up of the effect.  I also used a piece of clear packaging to back the clown so he would stand up where I wanted him.  I put the Lion Tamer in the background with the clown in the center and then added a toy elephant that I got at Michael's.  The ringmaster has been dressed up a bit with some Stickles lightly painted on the cape, brads on the buttons, feathers on his hat and shoes and gold Flowersoft on the cuff & shoes.  Hope you like it!  Stay tuned for the mini that will live inside the 3 ring circus.